
 EN
 LV
 RU
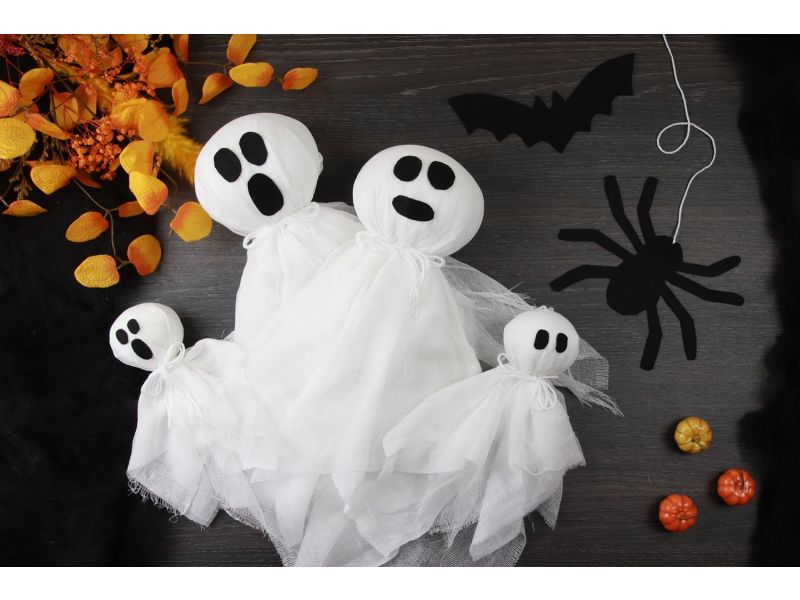
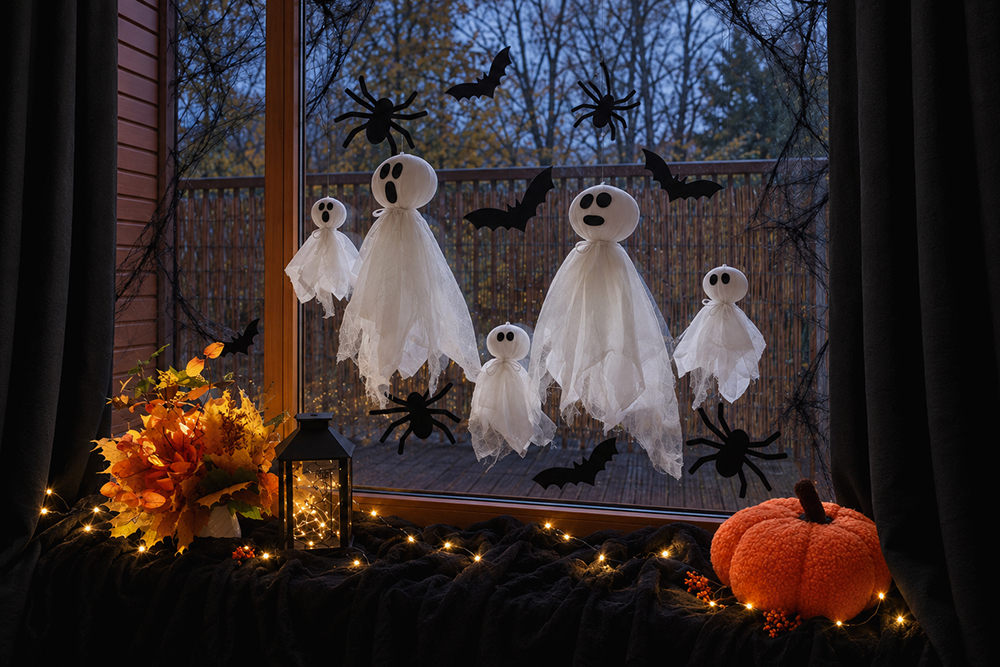
Fall is here! Ghosts made from lightweight white fabric, together with black felt bats and spiders, create a fun Halloween window display. Follow this tutorial to make two larger and three smaller double-layered ghosts, then add their felt companions.
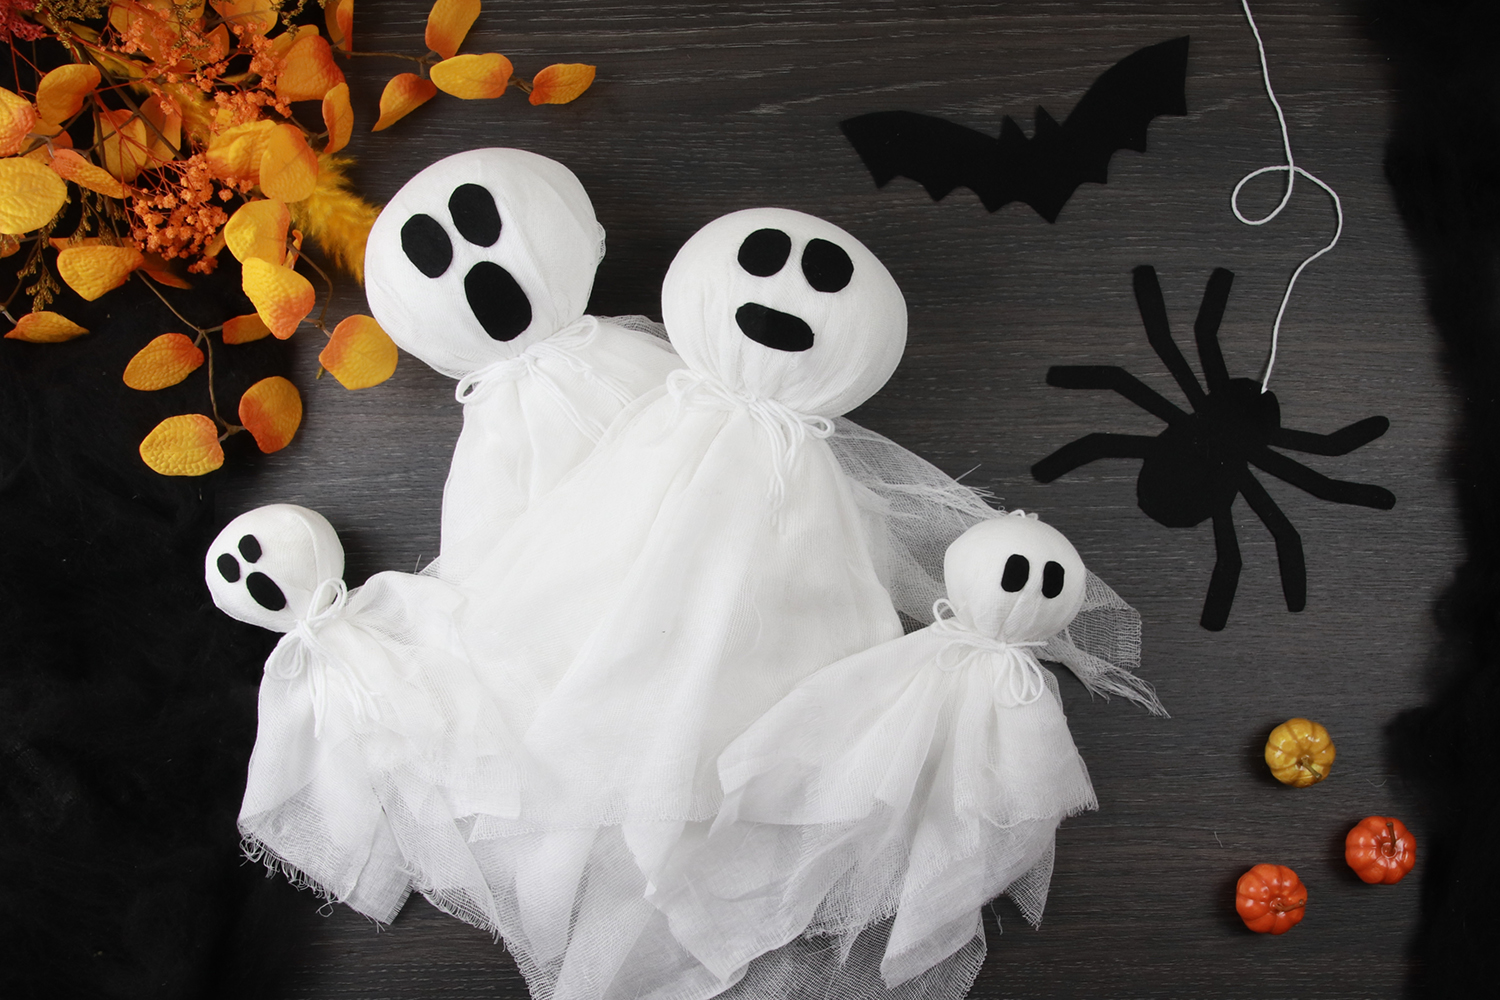
Materials and tools
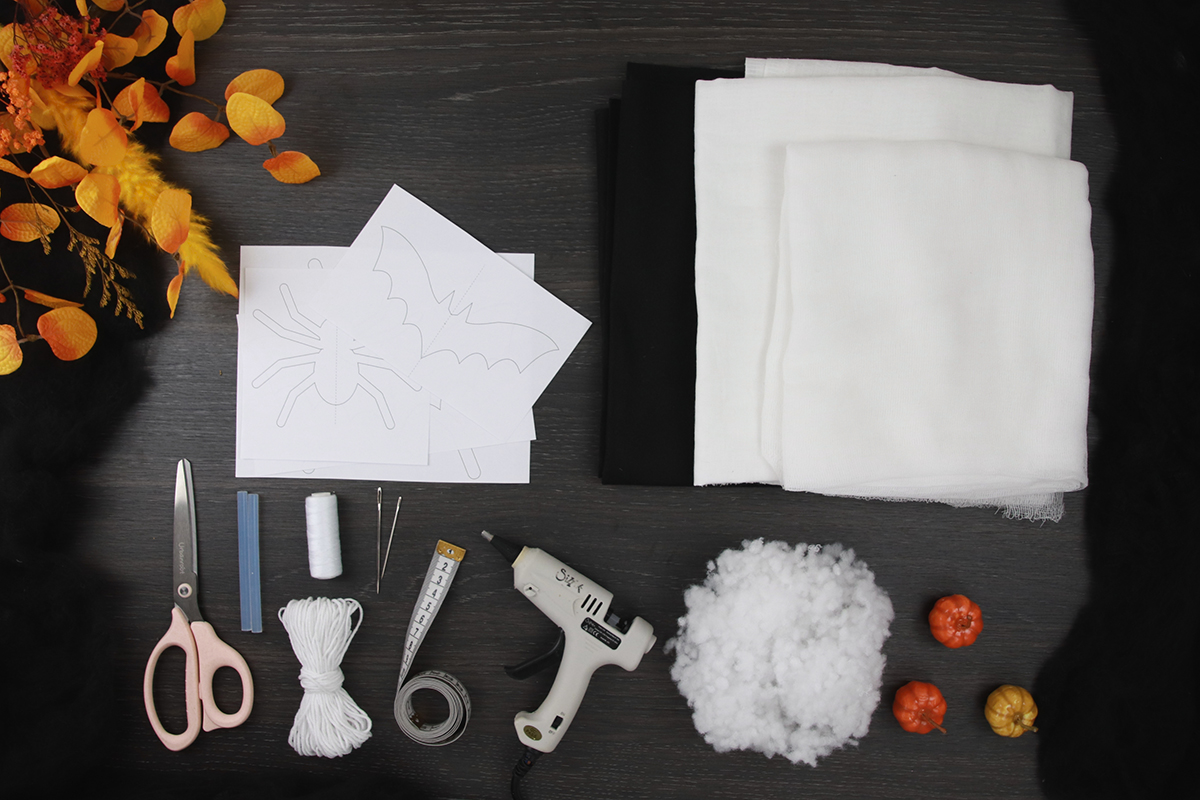
- Lightweight white gauze or soft curtain fabric, plus thin white cotton fabric. Each ghost needs two layers of fabric. Use white gauze for the outer layer and thin white cotton fabric from Abakhan’s fabric sold by weight for the inner layer.
- Toy stuffing
- Pieces of white fabric to cover the heads (Abakhan fabrics by weight).
- Black felt for the ghosts’ eyes and mouths, as well as the spiders and bats.
- Scissors (or other suitable scissors).
- Measuring tape.
- White sewing thread for securing the necks.
- Sewing needles, preferably with a large eye.
- Strong thread, fishing line or yarn for hanging.
- Textile glue suitable for your fabric and felt, or hot glue sticks and a hot glue gun.
- A4 paper for the spider and bat templates – draw it yourself or find on the internet.
- Optional window decorations: black fabric, artificial cobwebs, branches and leaves, pumpkins, a black lantern and battery-operated LED string lights.
Sizes and cutting measurements
The larger ghosts are intended to be approximately 45 cm tall, and the smaller ones 20–25 cm tall. Use the following cutting measurements as a starting point.
| Ghosts | Total fabric squares | Head diameter |
|---|---|---|
| 2 larger ghosts | 4 squares 65 × 65 cm | approx. 10–12 cm |
| 3 smaller ghosts | 6 squares 35 × 35 cm | approx. 5–6 cm |
For the head covers, also cut two 40 × 40 cm and three 20 × 20 cm pieces of white fabric.
For fabric at least 140 cm wide, allow approximately 1.75 m of gauze and 1.75 m of white cotton, including extra — 3.5 m of fabric in total. The amount of felt depends on the number of bats and spiders and the size of the templates.
Making the ghosts
01 Measure and cut
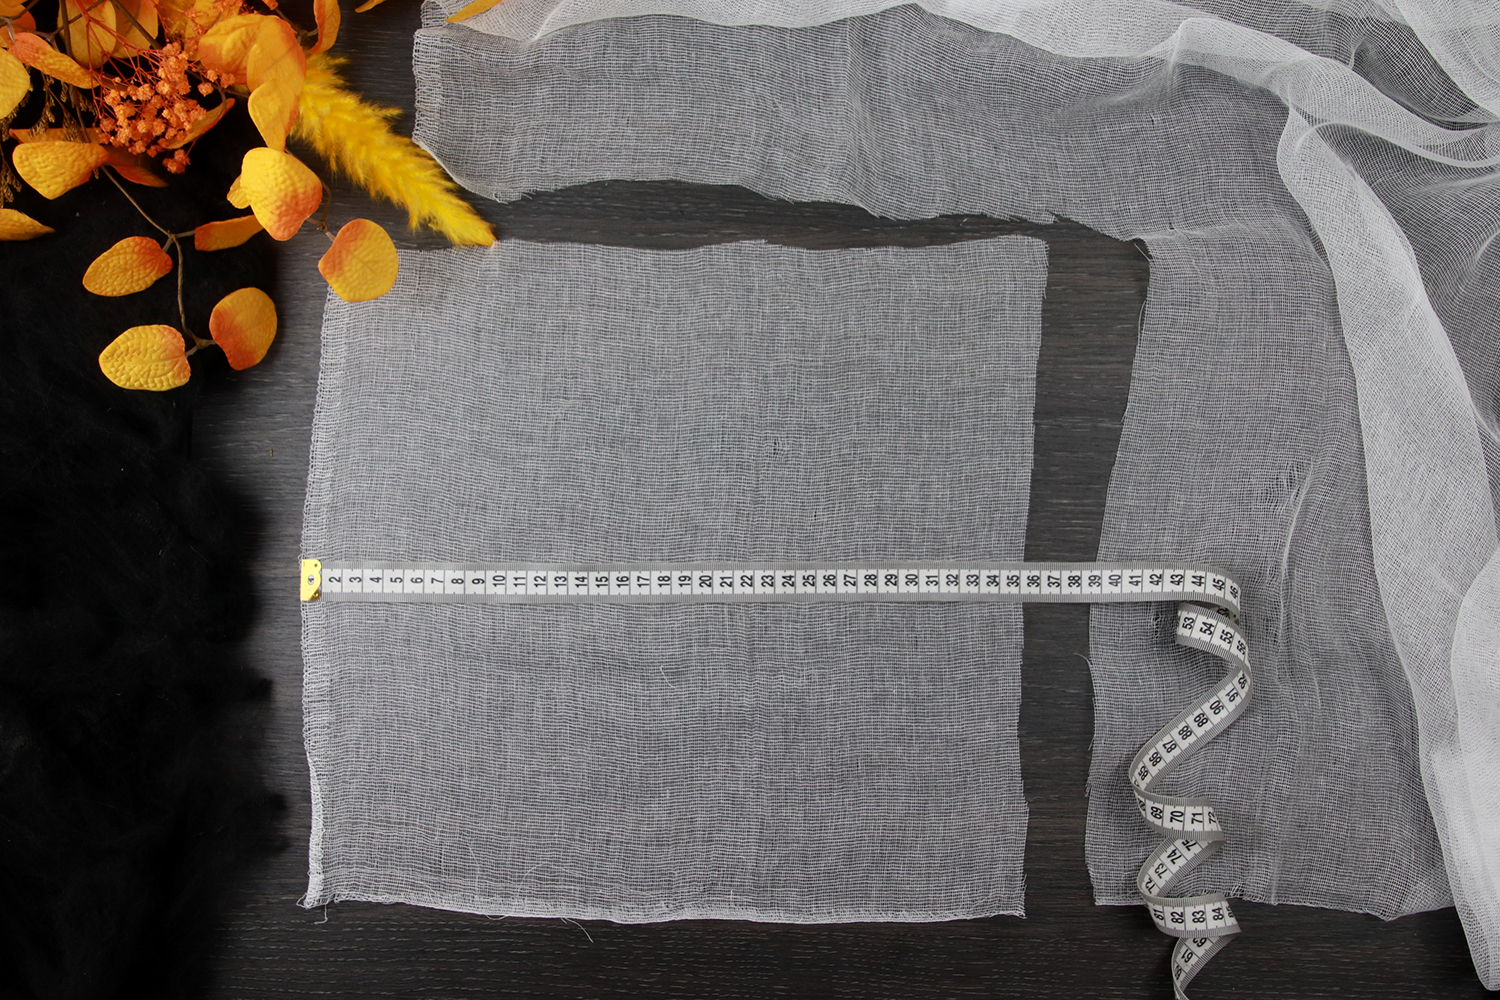
Measure and cut squares of the required size from both fabrics. Each ghost needs two equally sized squares: one gauze and one cotton. Start by making one large and one small ghost so you can check their size before cutting the remaining pieces. Cut the pieces for the head covers as well.
02 Shape the head
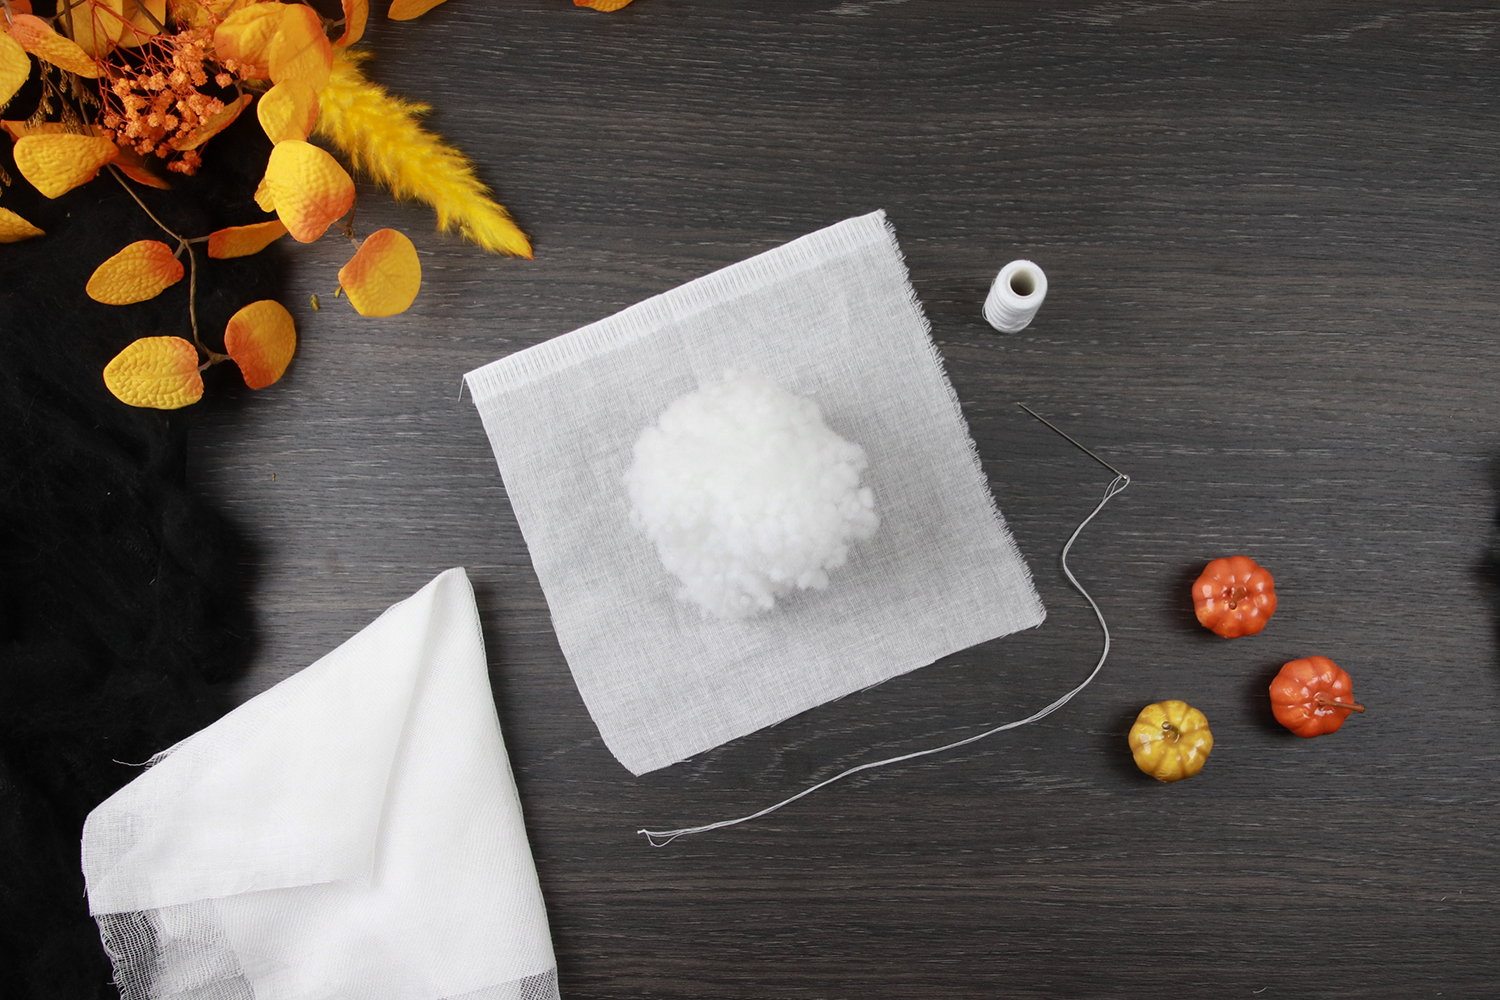
Shape the stuffing into a round ball. Wrap it in a piece of white fabric and stitch the fabric closed beneath the ball using white thread. This keeps the stuffing together. Check that the head is a suitable size for your fabric squares.
03 Arrange the two fabric layers
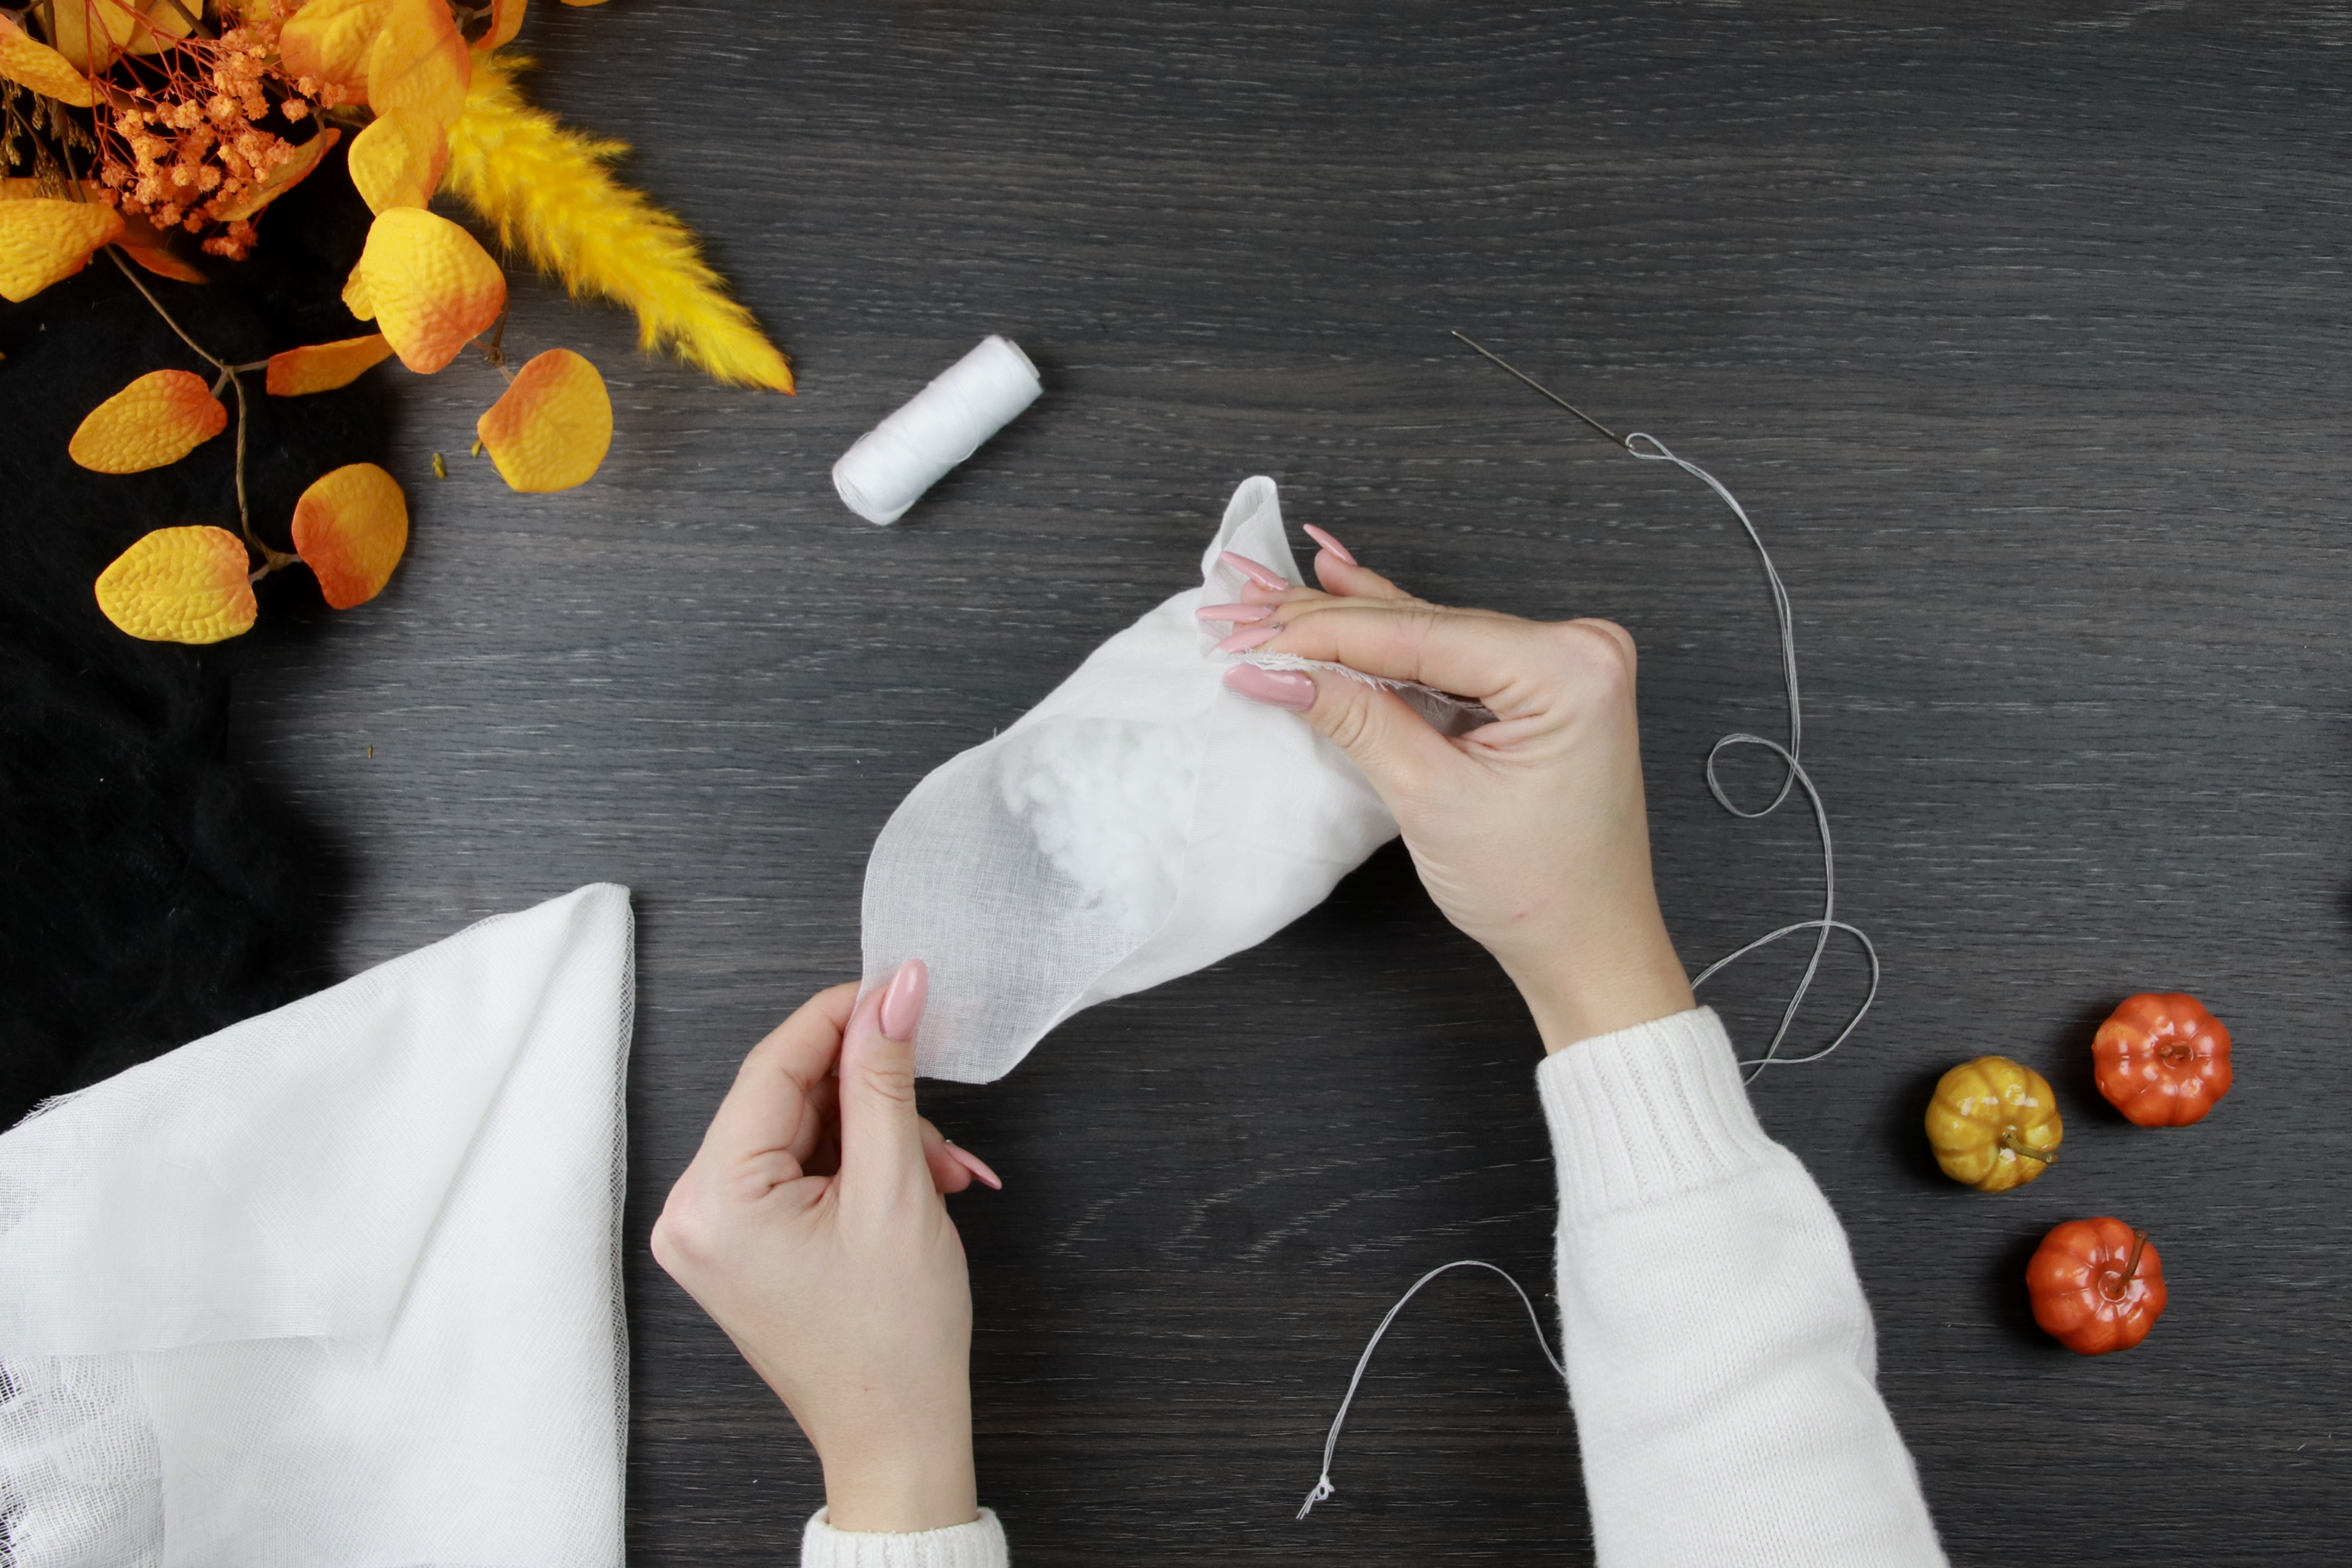
Lay the cotton square on a table and place the gauze on top. Rotate one square so that the corners of the two layers do not line up. Drape the layers over the head, with the centre of each square at the top of the head and the gauze as the outer layer. Let the corners hang freely.
04 Secure the neck
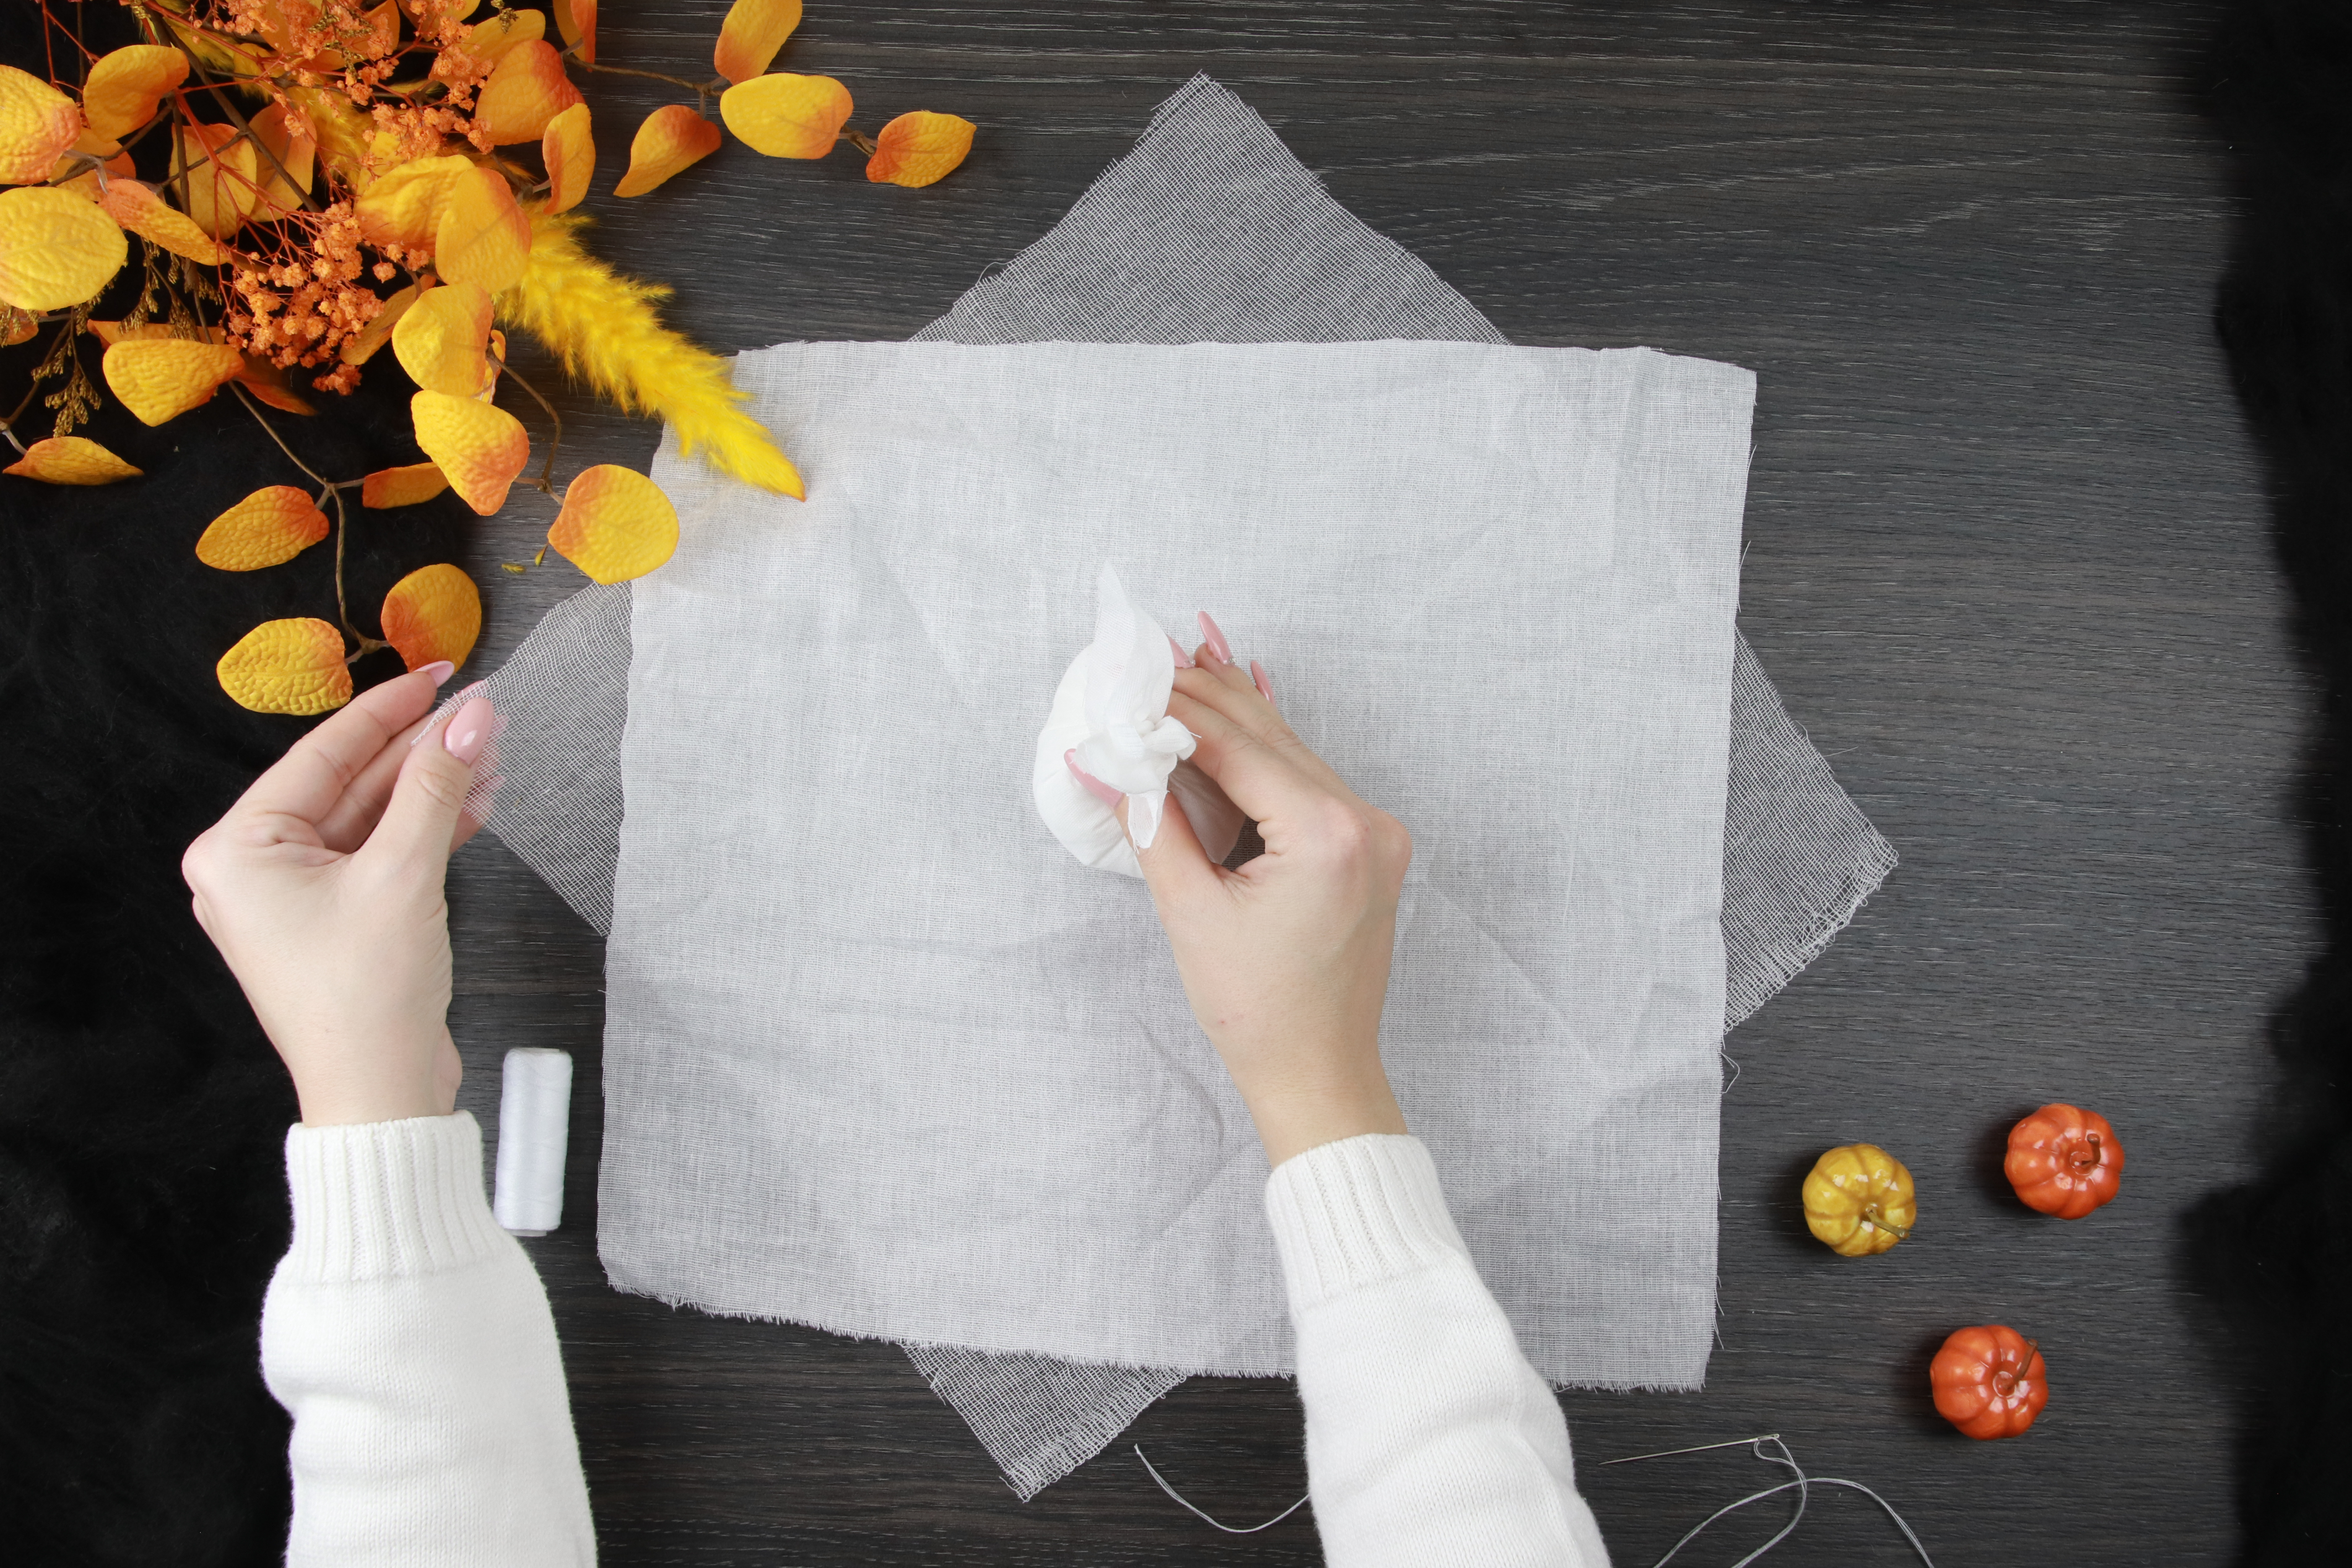
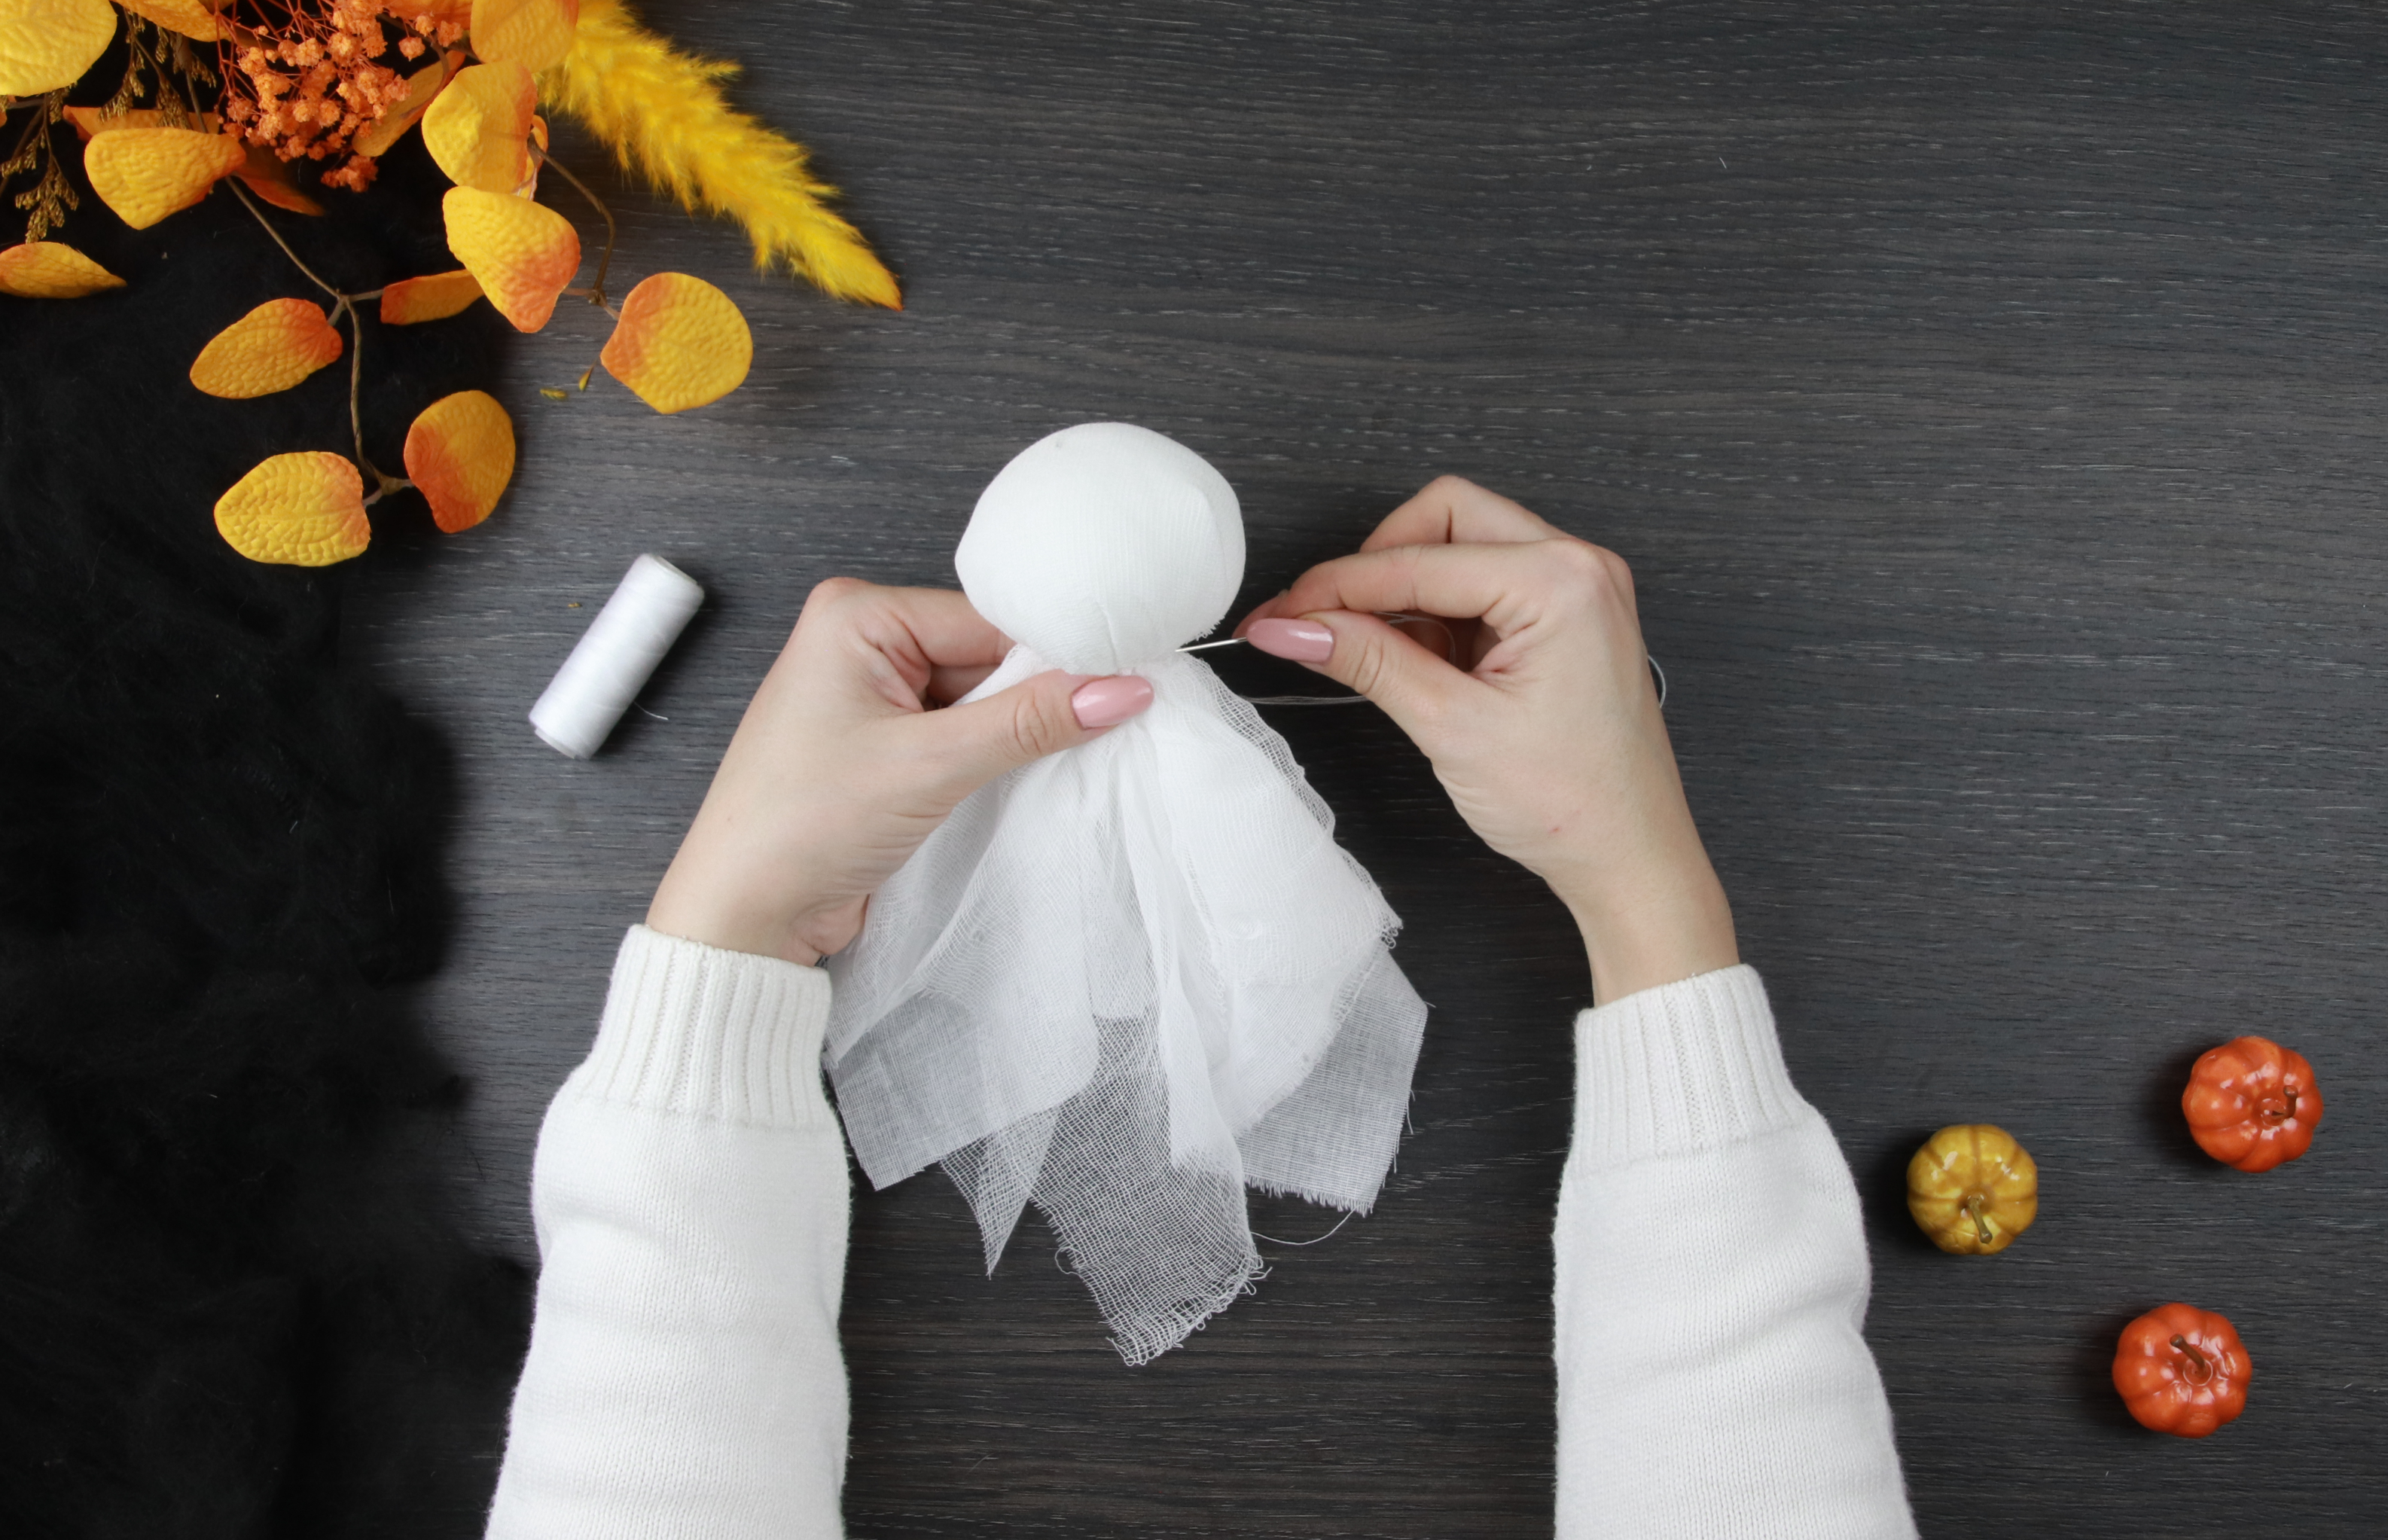
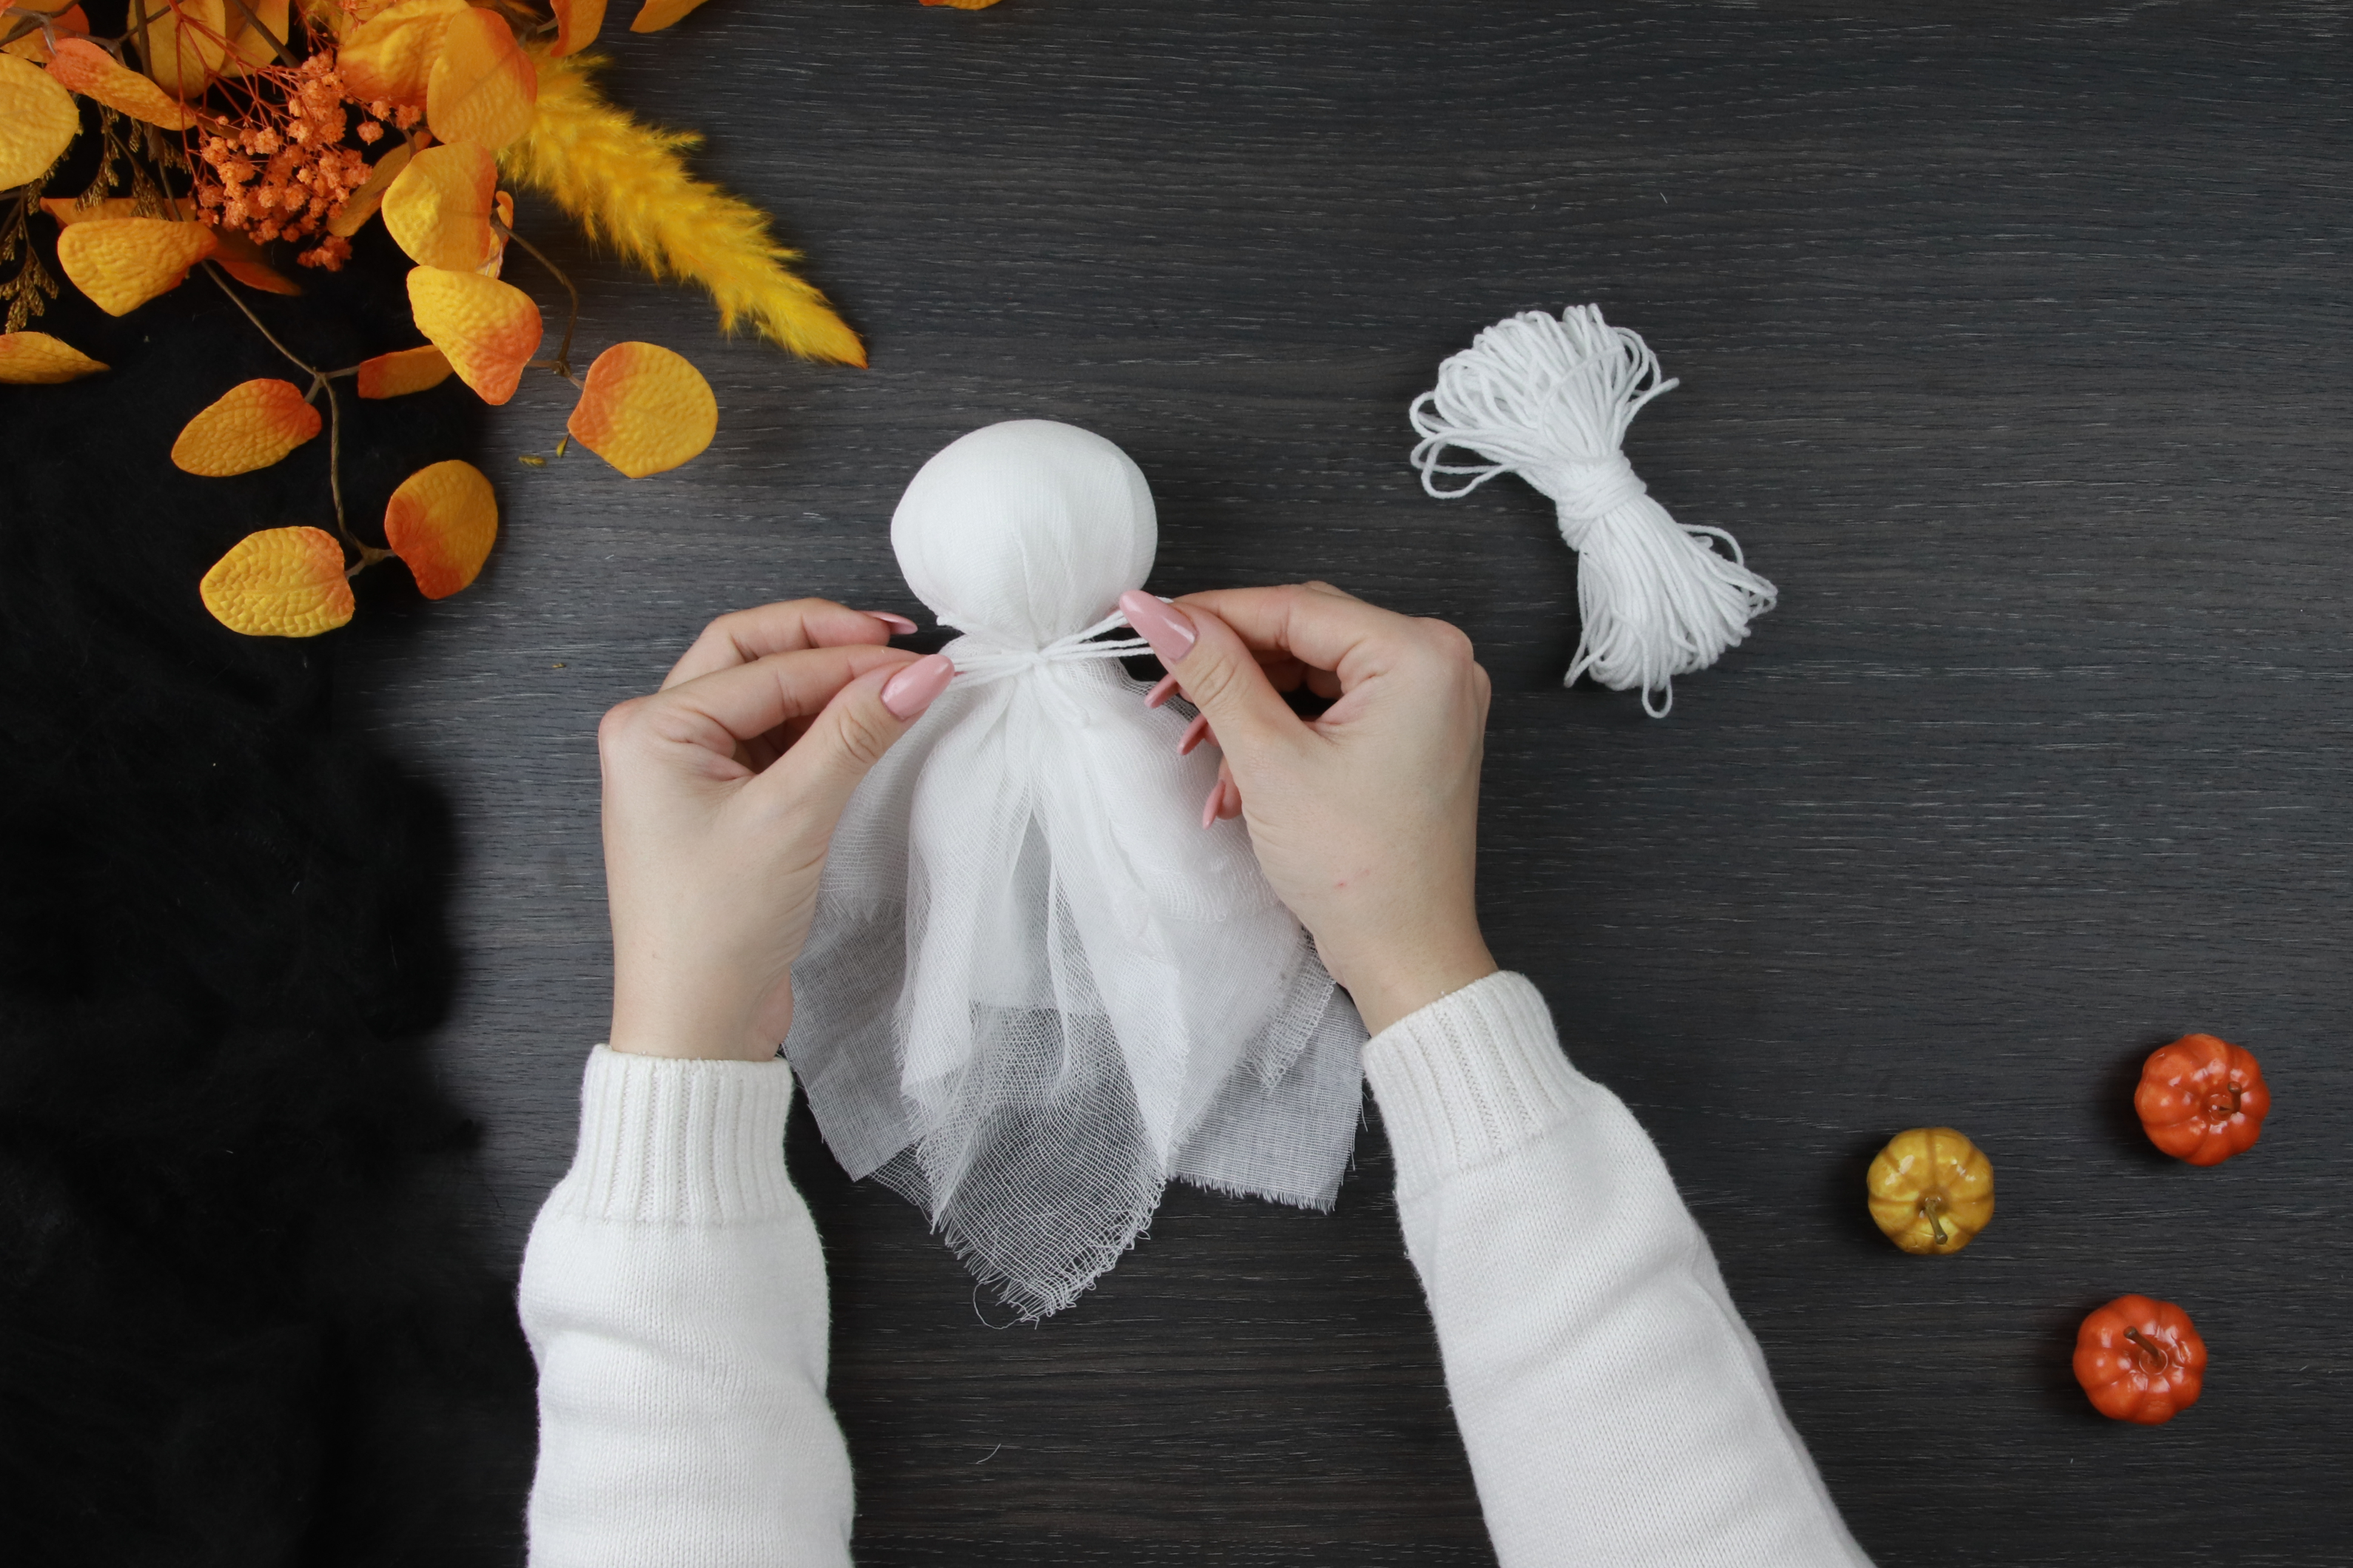
Gather both fabric layers beneath the head and stitch them securely with white thread. Adjust the folds and hanging corners. If you want to trim the bottom edge, wait until you have checked how the ghost hangs.
05 Cut out and attach the eyes
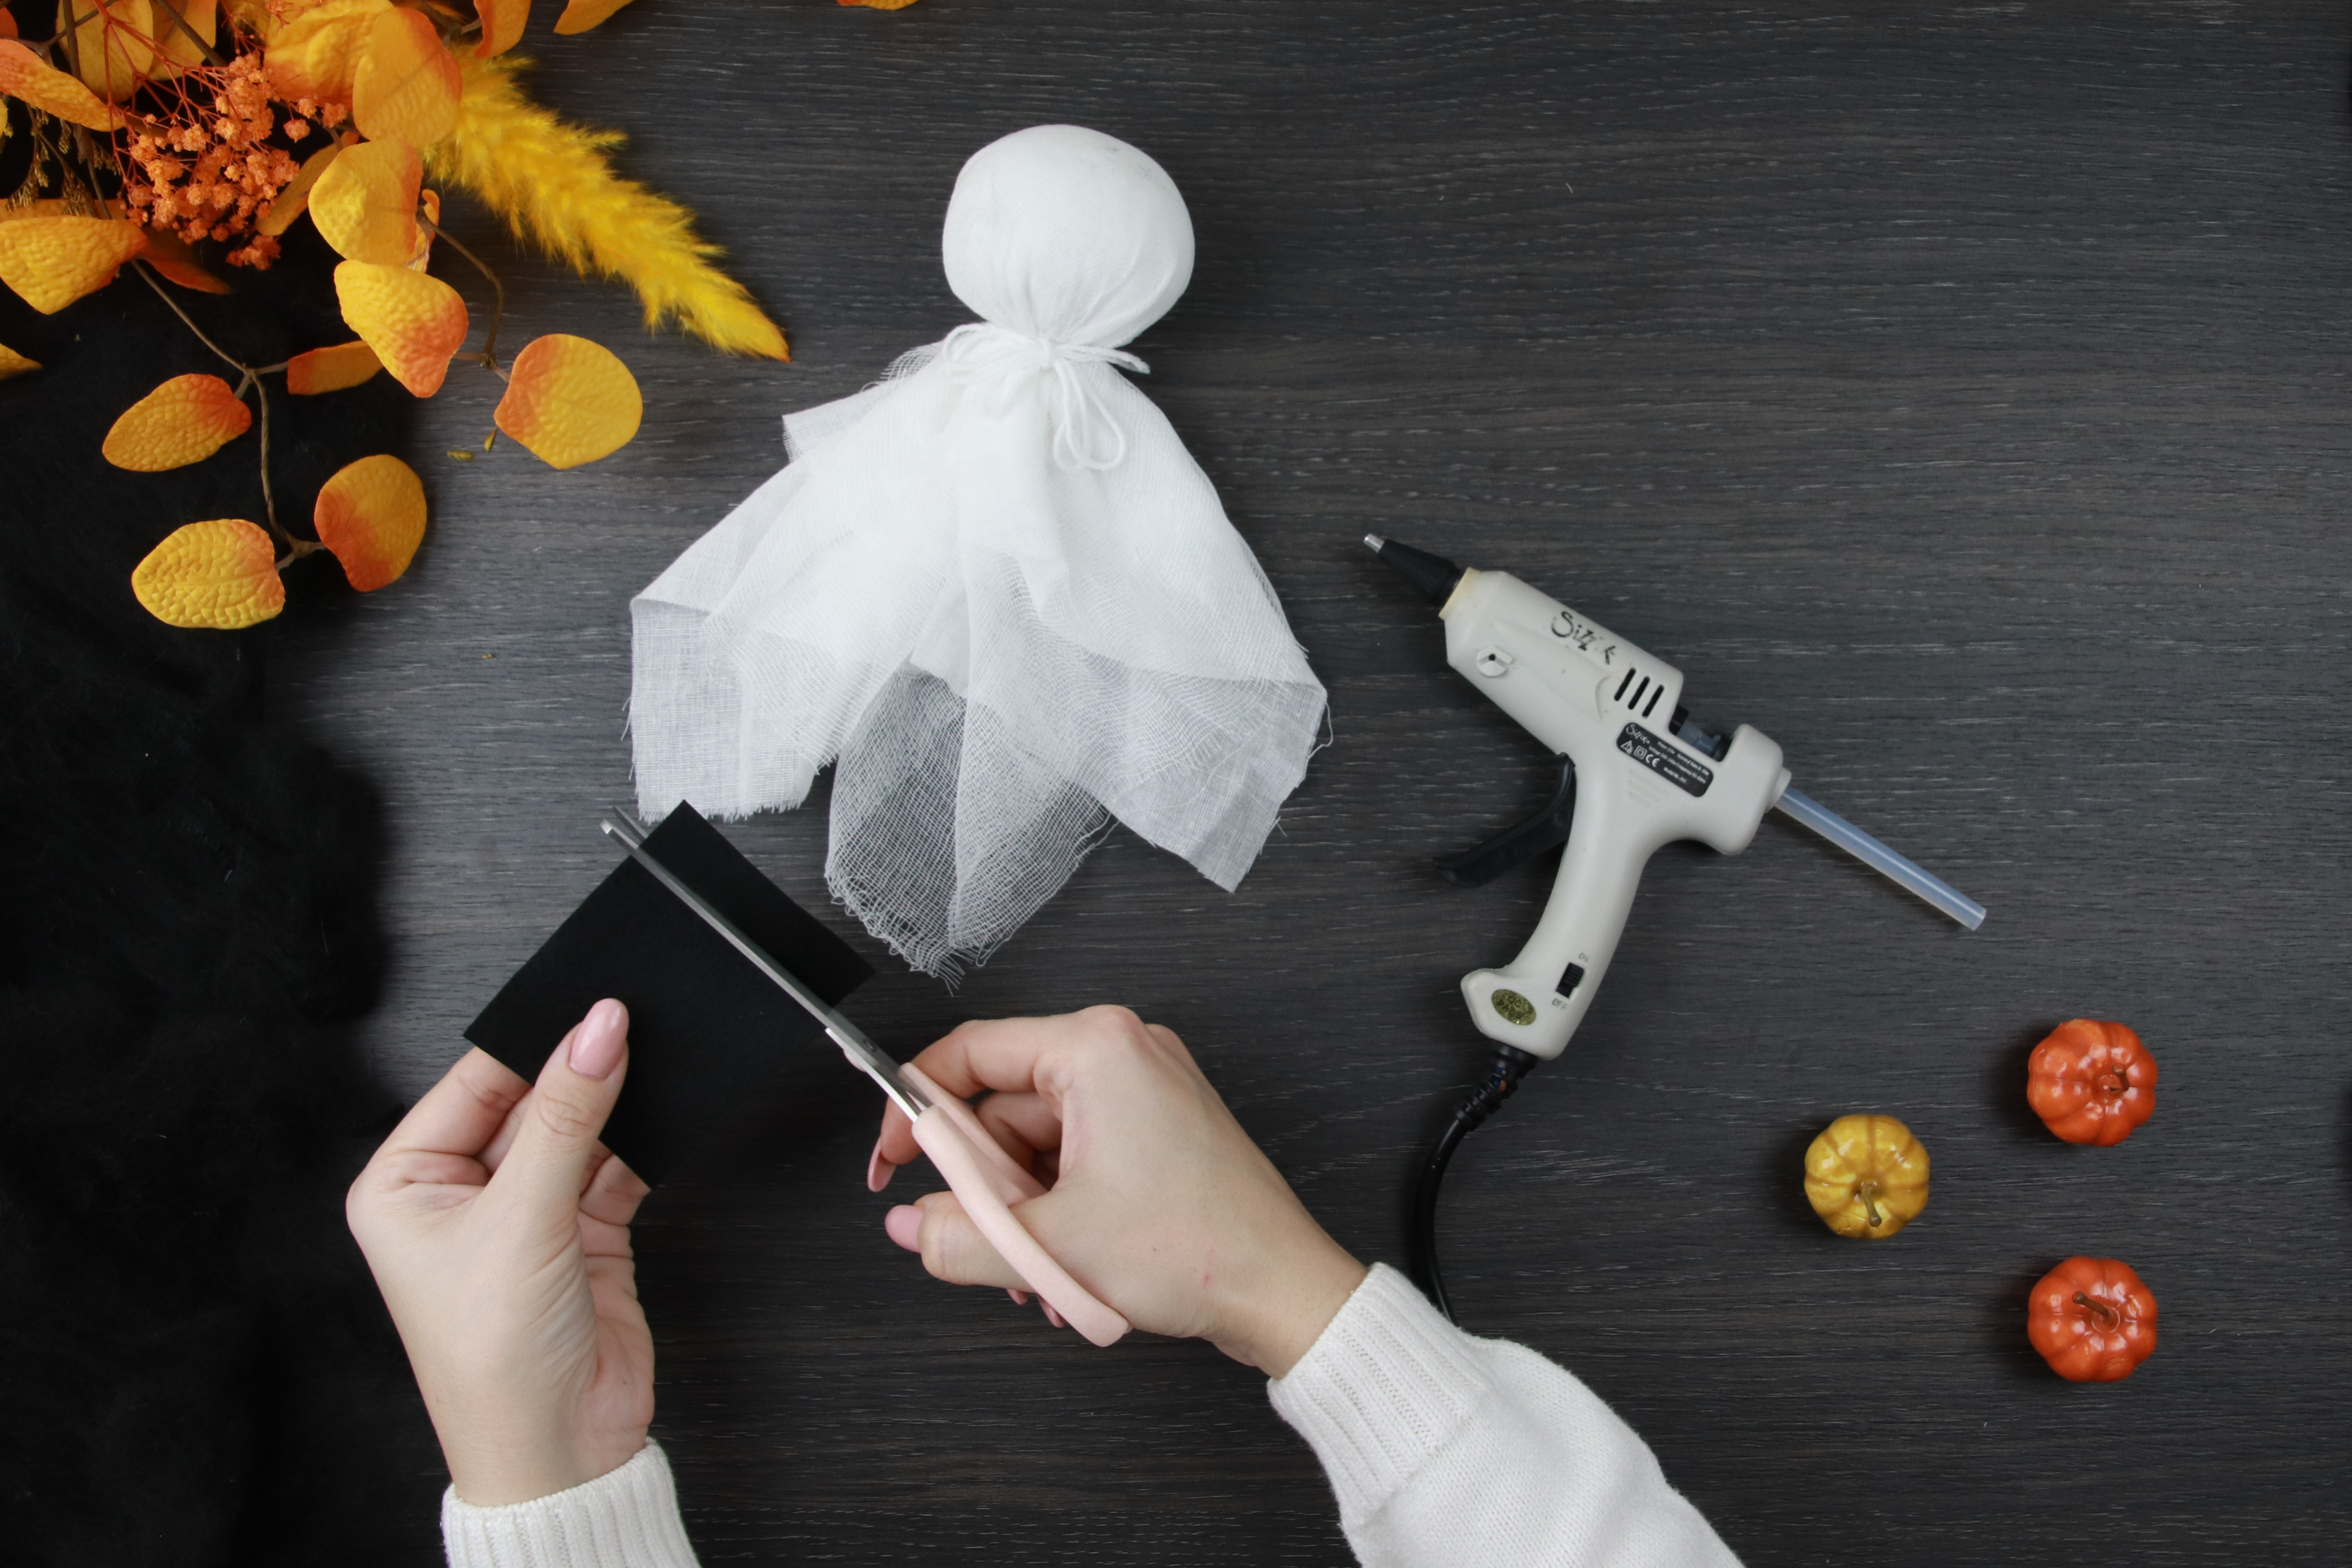
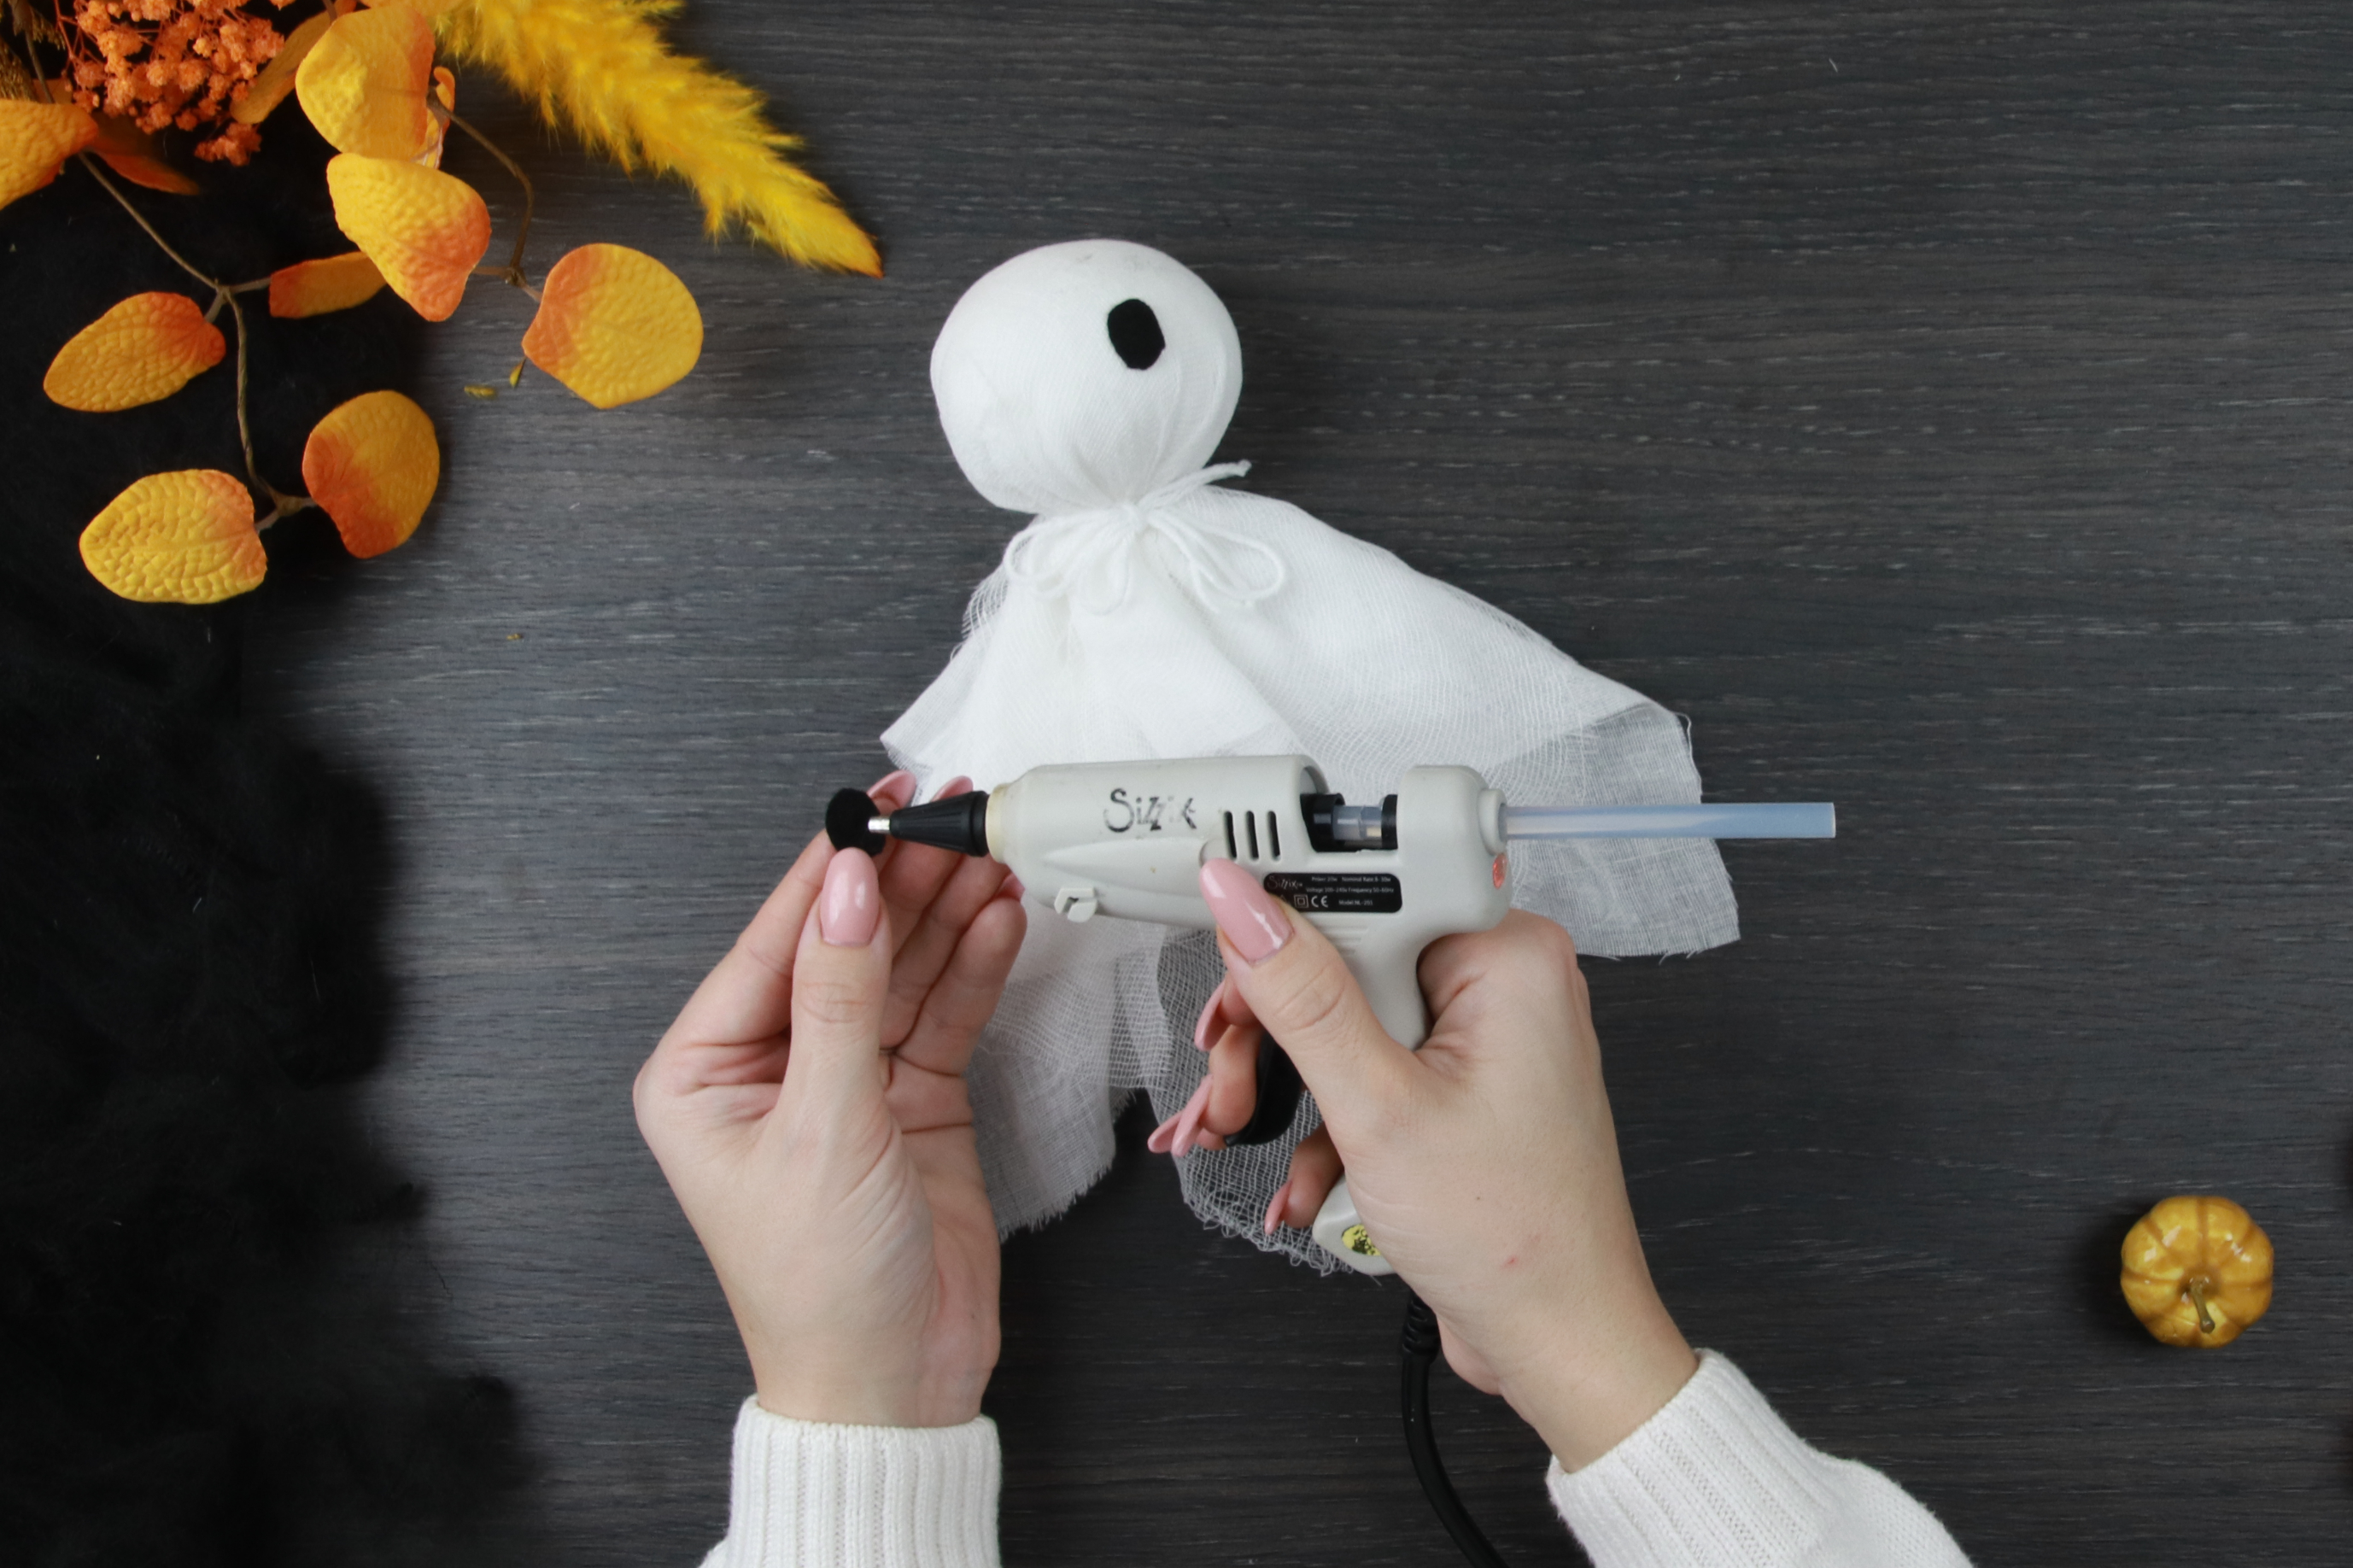
Cut two oval eyes from black felt. Try out their position before gluing them in place. Apply a small amount of glue to the back of each felt piece and attach the eyes to the outer fabric layer. If you like, add a felt mouth and give each ghost a different expression. Allow the glue to dry according to its instructions.
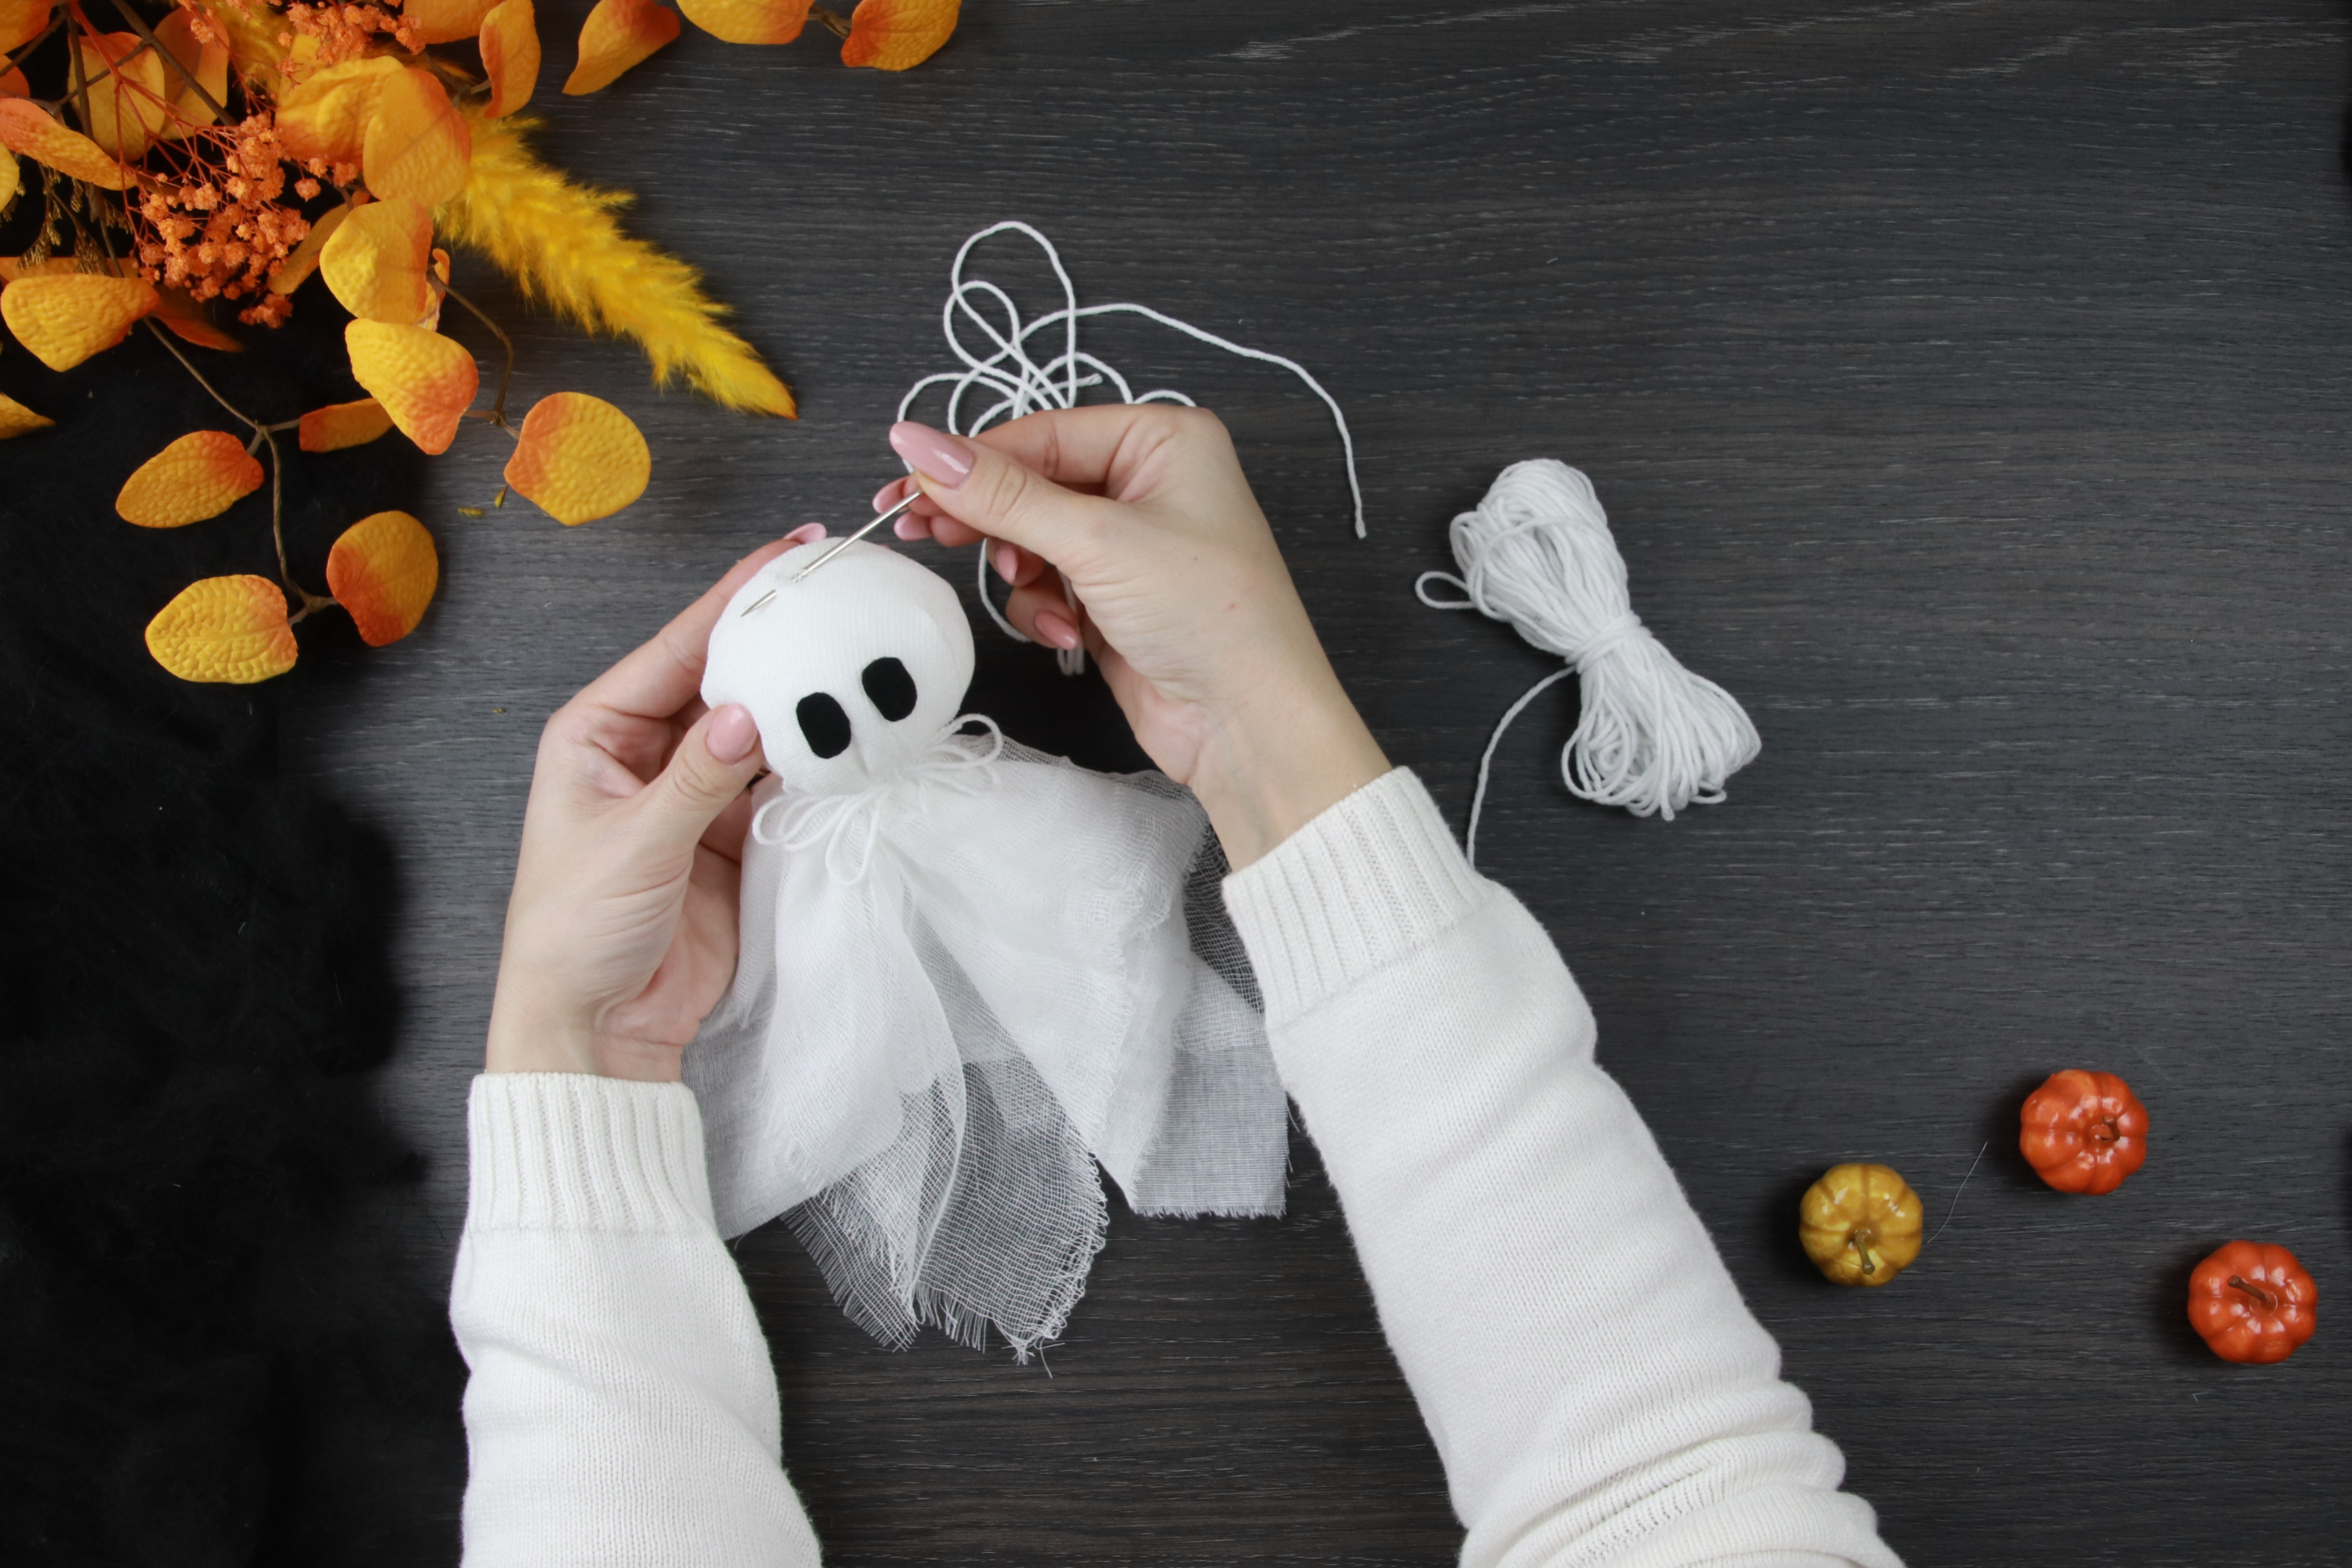
06 Add the hanging thread
Using a needle, pass the hanging thread through the top of the head, making sure it also catches the fabric wrapped around the stuffing. This prevents the attachment from relying on the loosely woven gauze alone. Tie the thread securely and test how the ghost hangs over a soft surface. Adjust the fabric layers and the direction of the face. Your ghost is ready to hang!
Felt bats and spiders
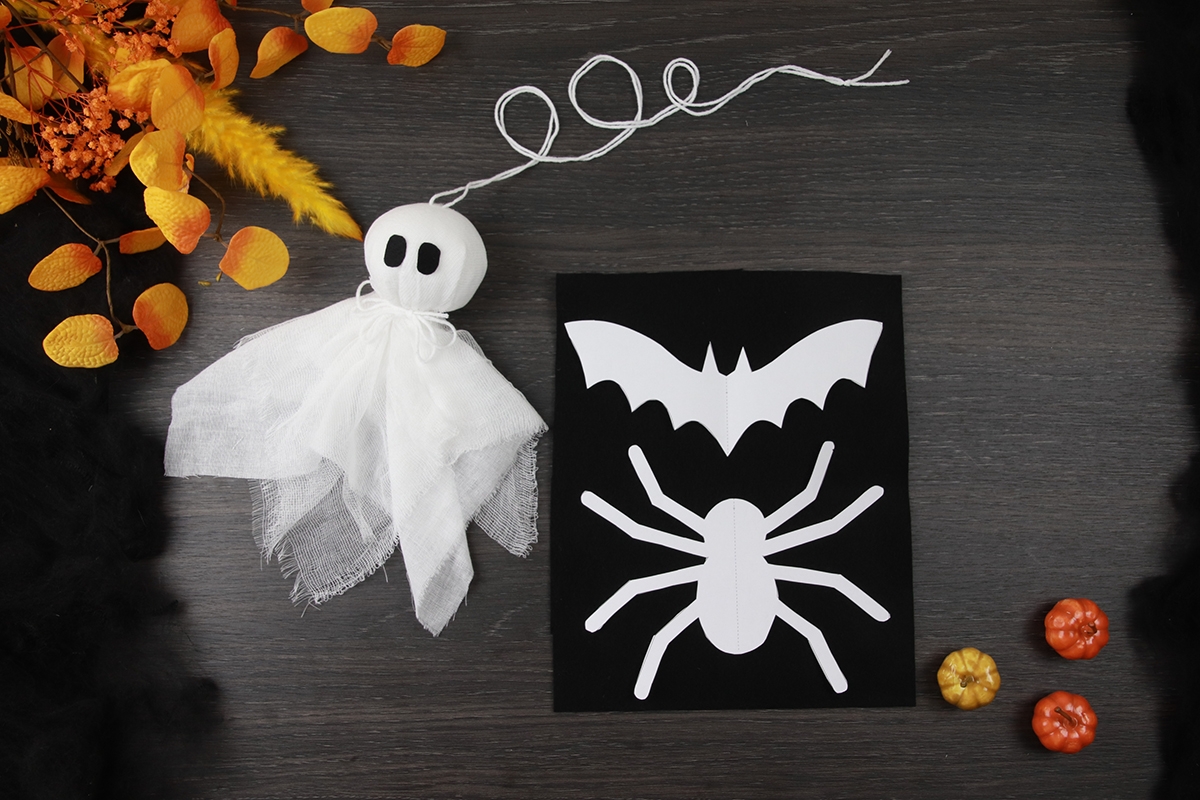
01 Make the templates
Draw a bat and an eight-legged spider on paper, then cut out the templates. Alternatively, print out suitable shapes. Trace the outlines onto the back of the black felt or pin the templates to it. Make the spider’s legs wide enough to avoid tearing when cutting out or hanging the shape.
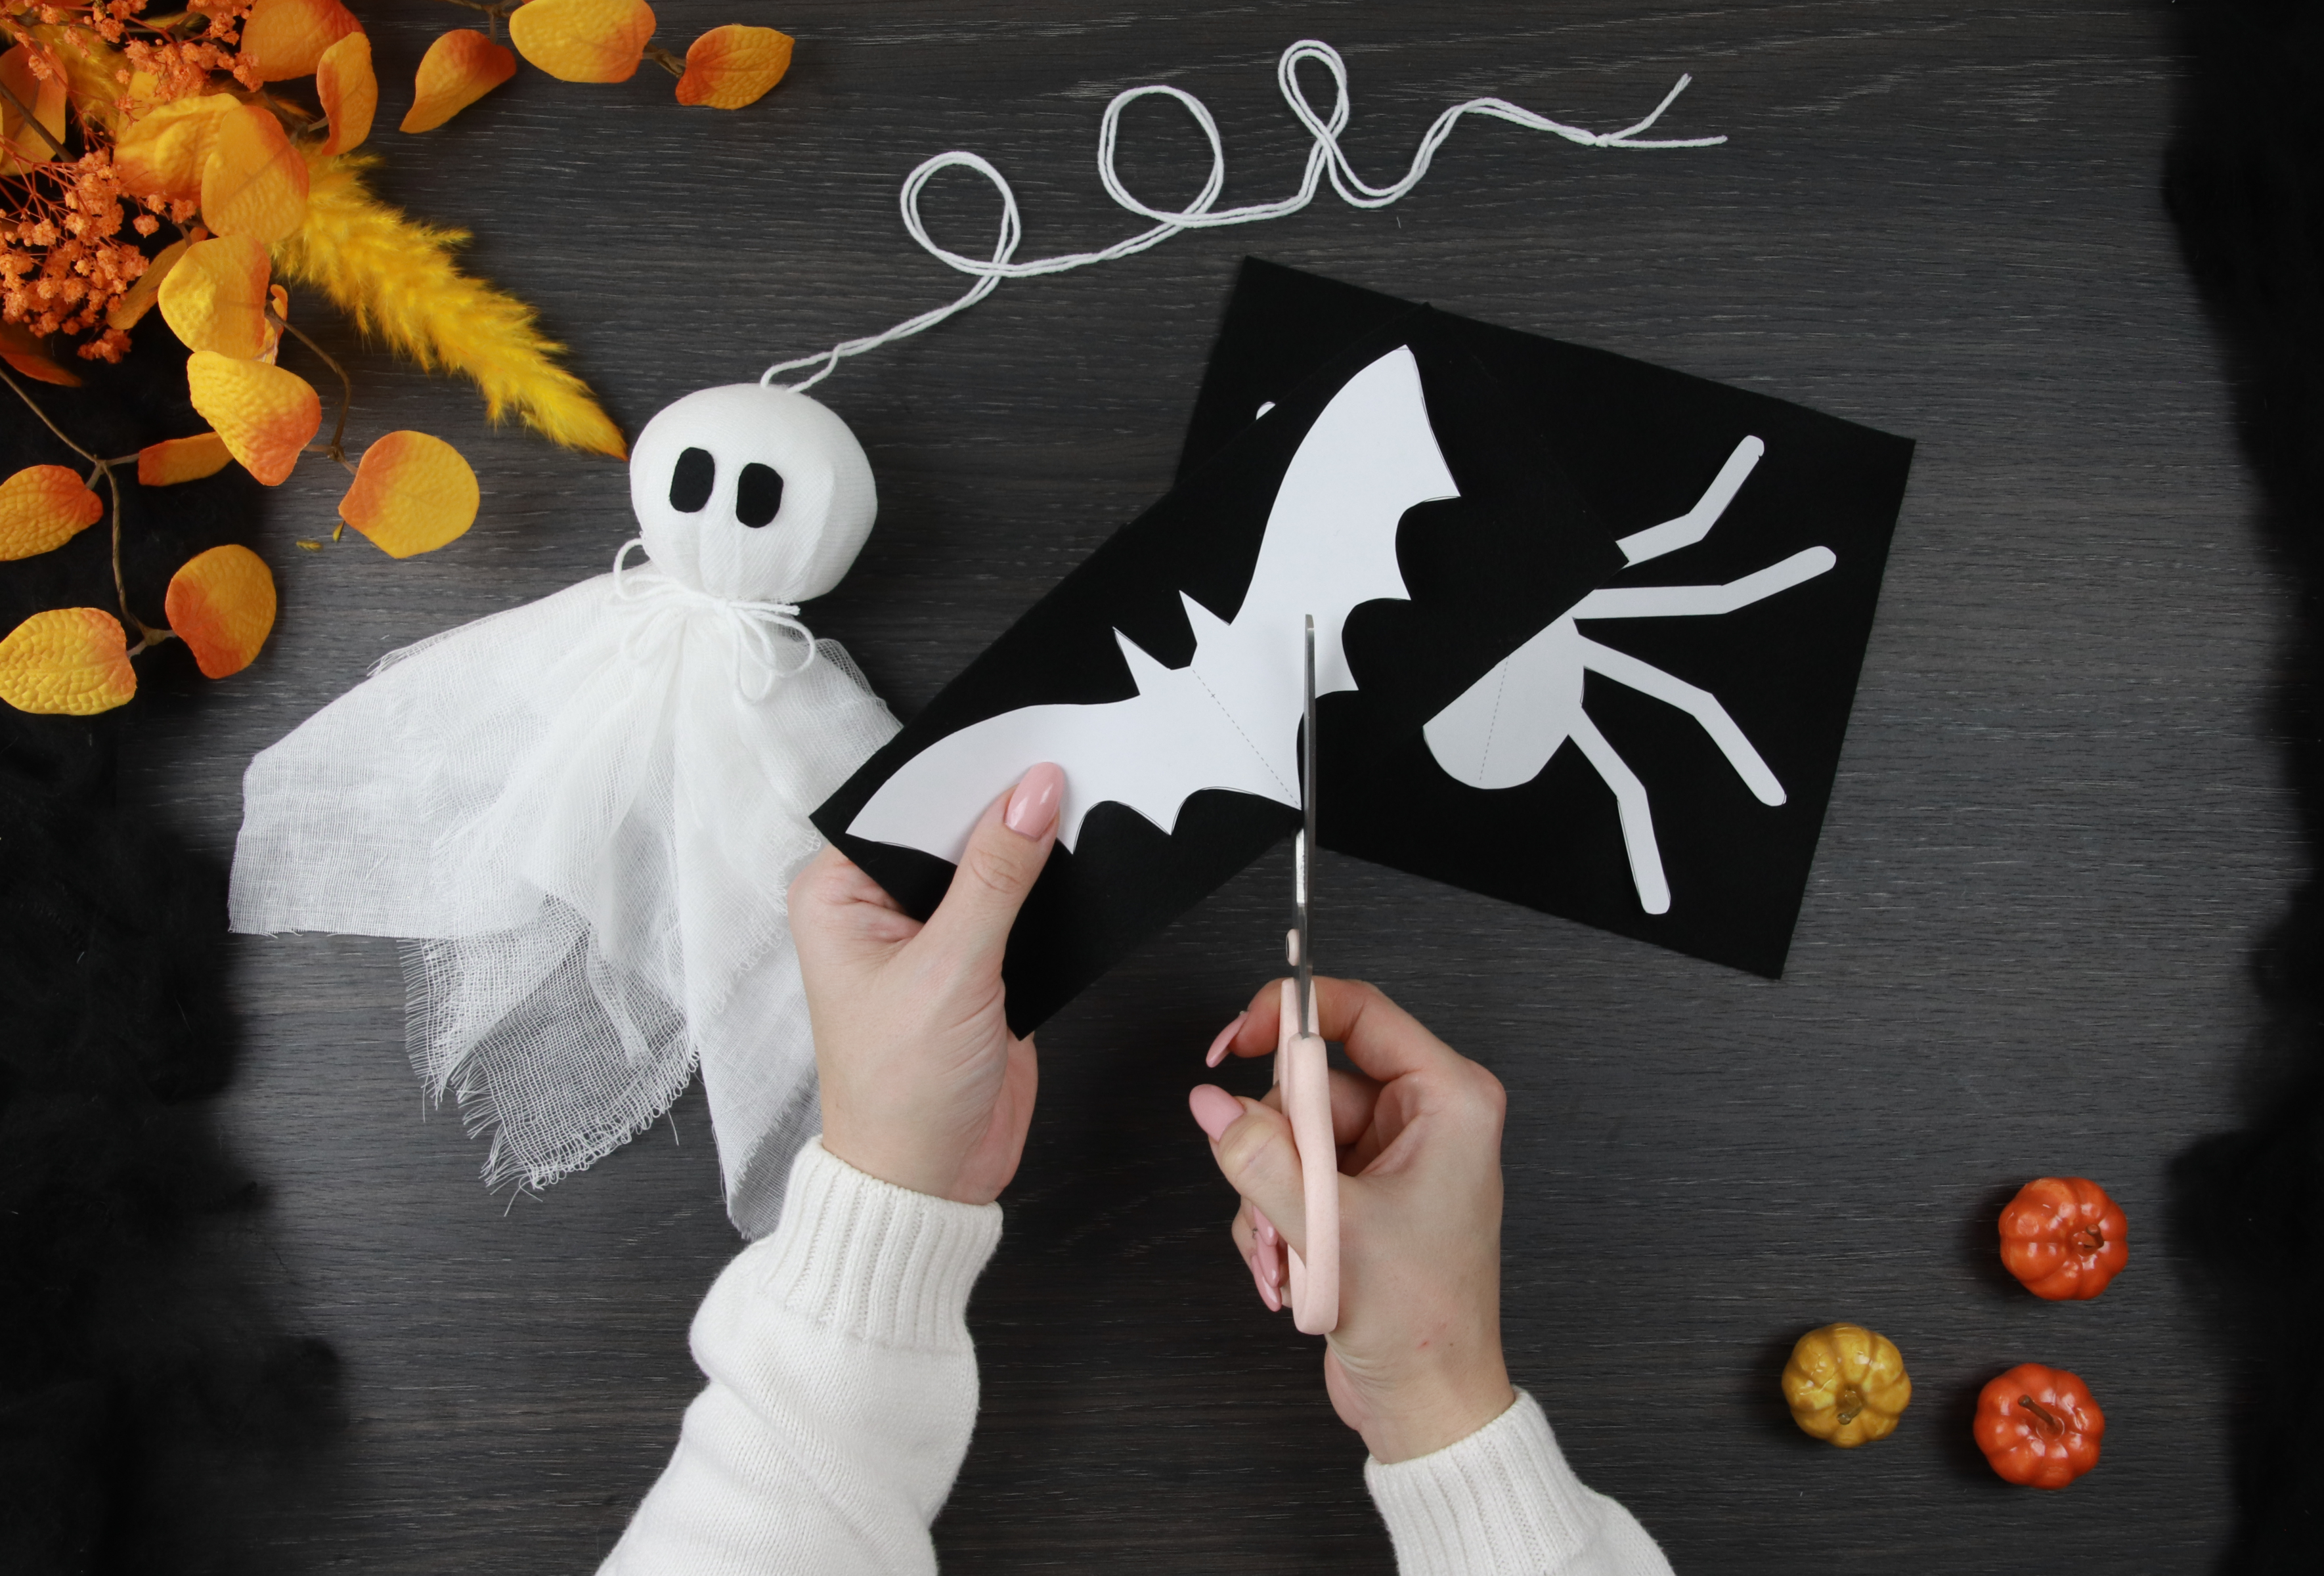
02 Cut out the shapes and add hanging thread
Cut the bats and spiders out of the felt. If the wings or legs droop, add a cardboard support to the back. Sew hanging thread to the top of each body and check that the shape hangs evenly. Adjust the attachment point if needed.
Decorate your window
Once the two larger and three smaller ghosts are finished, adjust their fabric layers and faces. Check that the glue has dried and all hanging attachments are secure.
Hang the two larger ghosts at the sides of the display and the three smaller ones between them at different heights. Keep the fabric above the windowsill and leave the opening section of the window clear. Add the felt bats, spiders and windowsill decorations.
If you like, add LED string lights to the windowsill.
Happy crafting and have a magical Halloween!